Quick Start
Overview
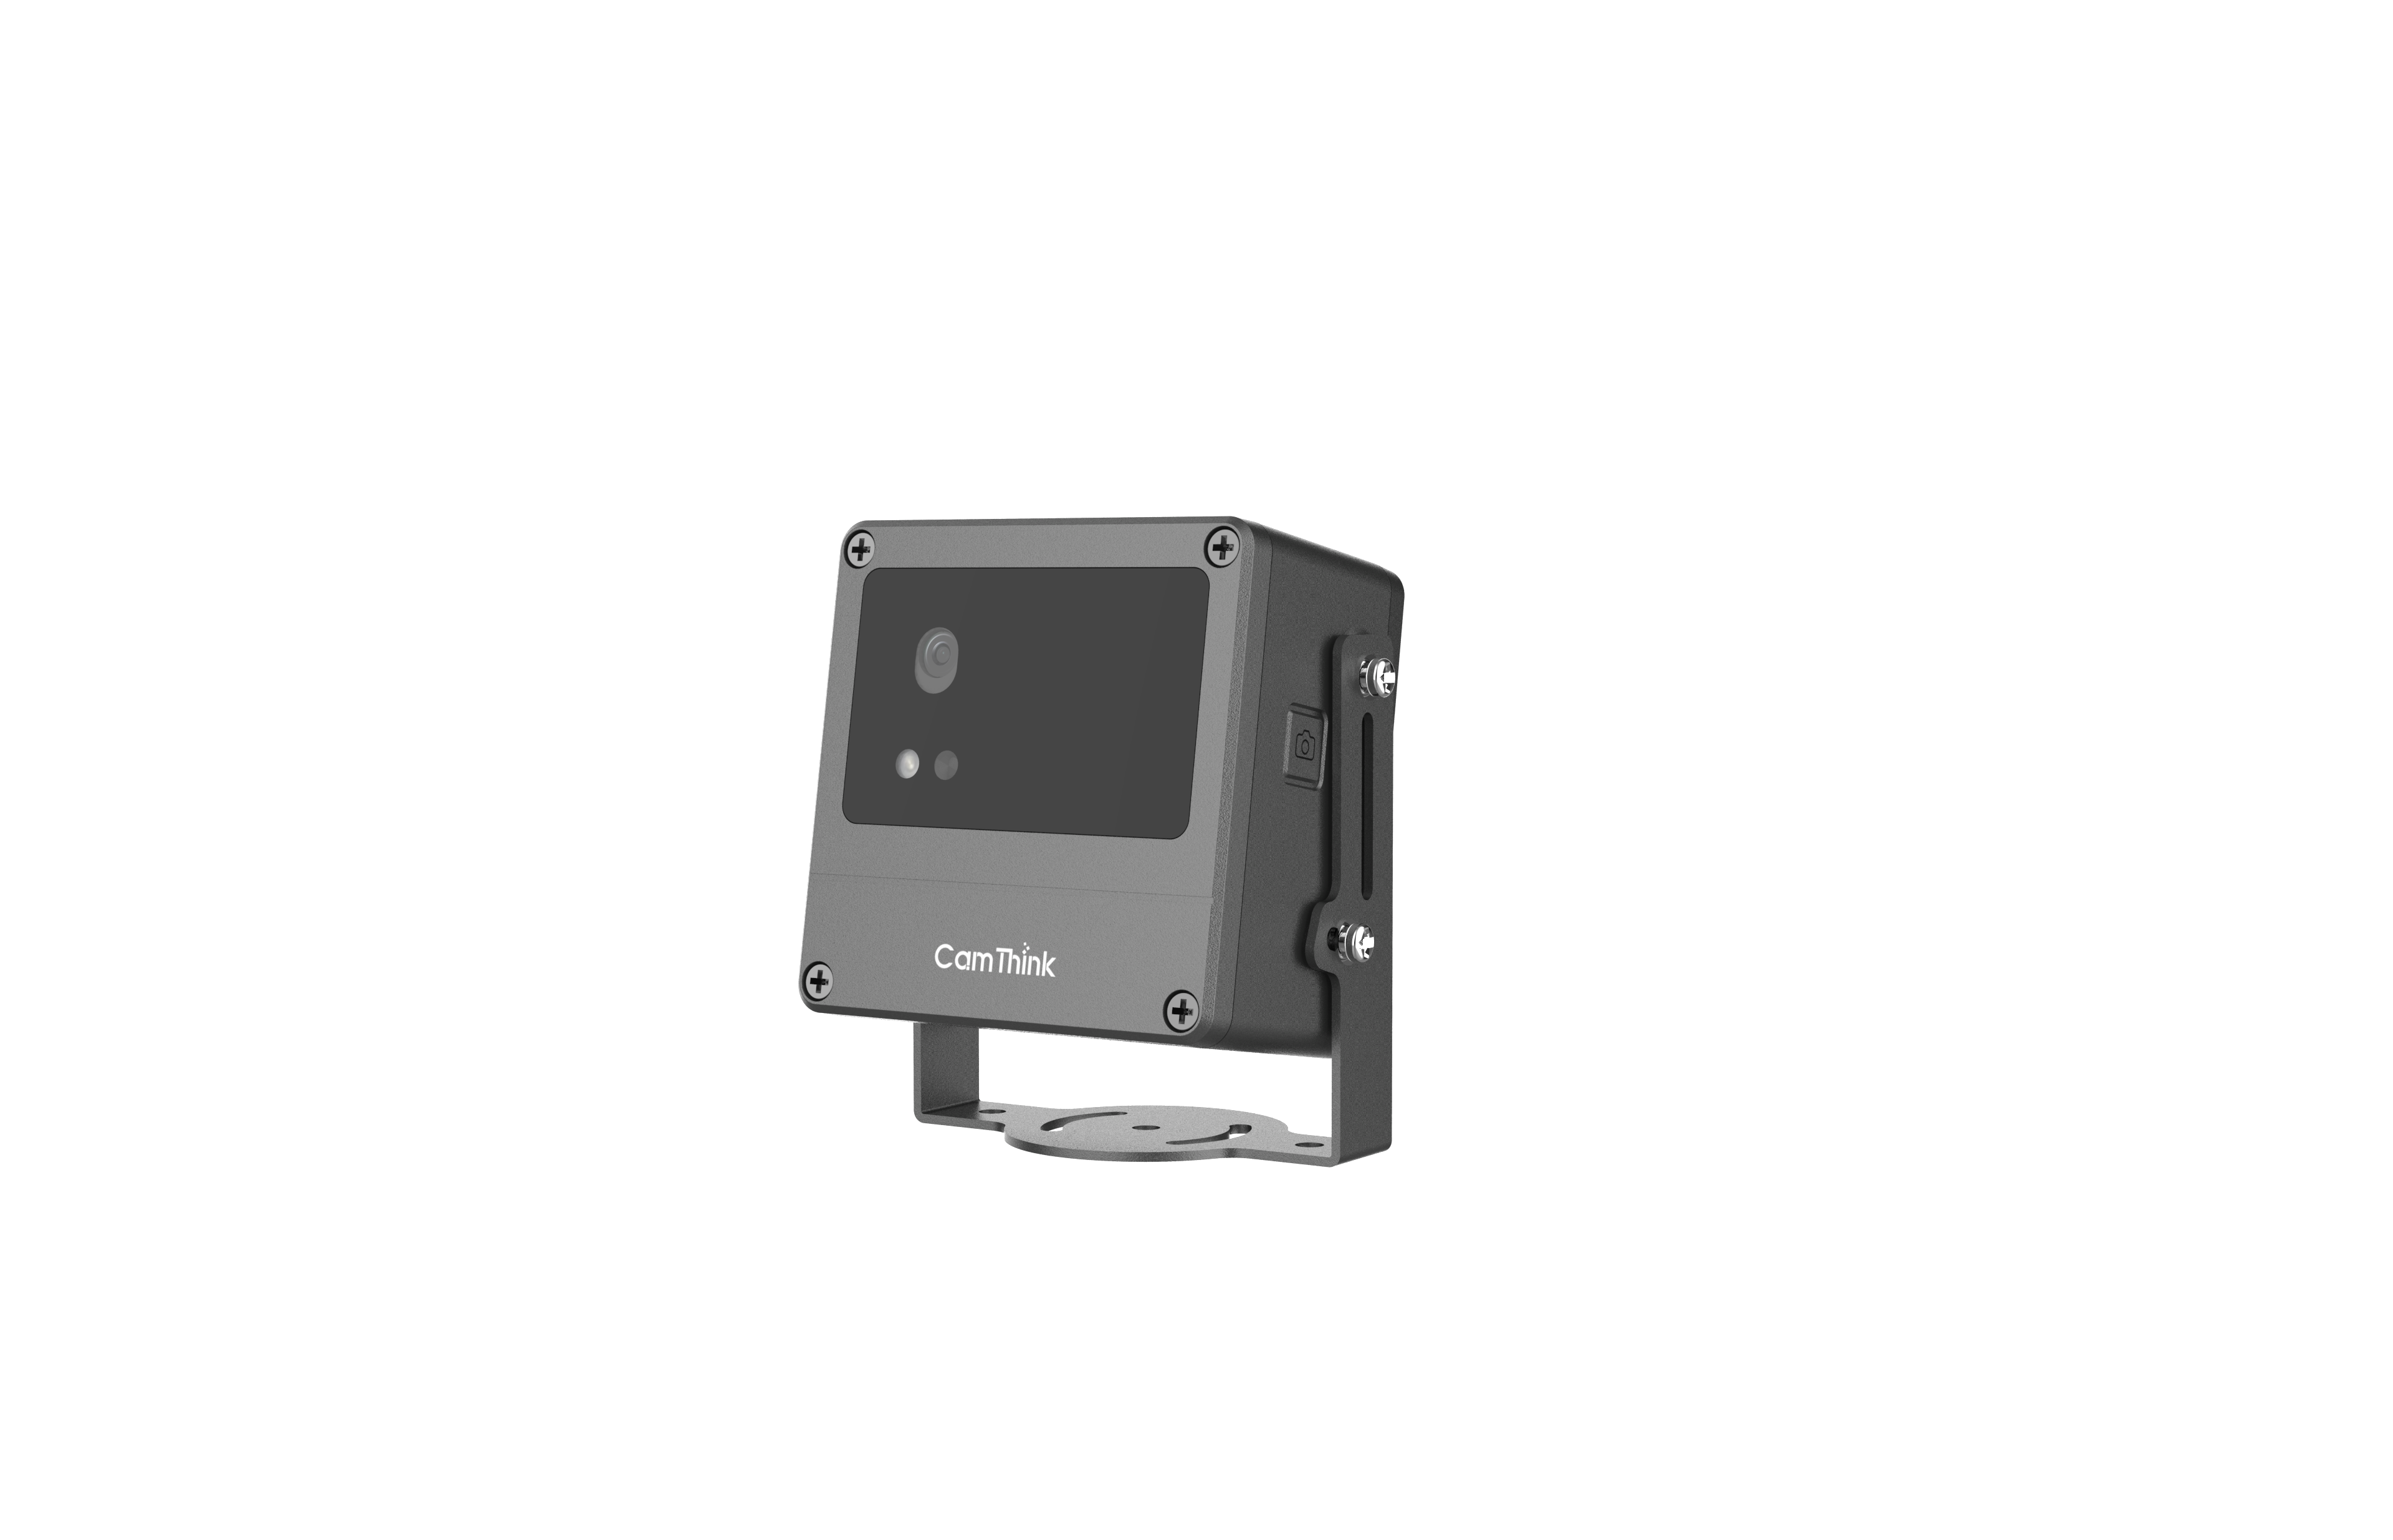
This tutorial provides detailed instructions for using the NE101 device, covering basic operation, device configuration, and installation procedures.
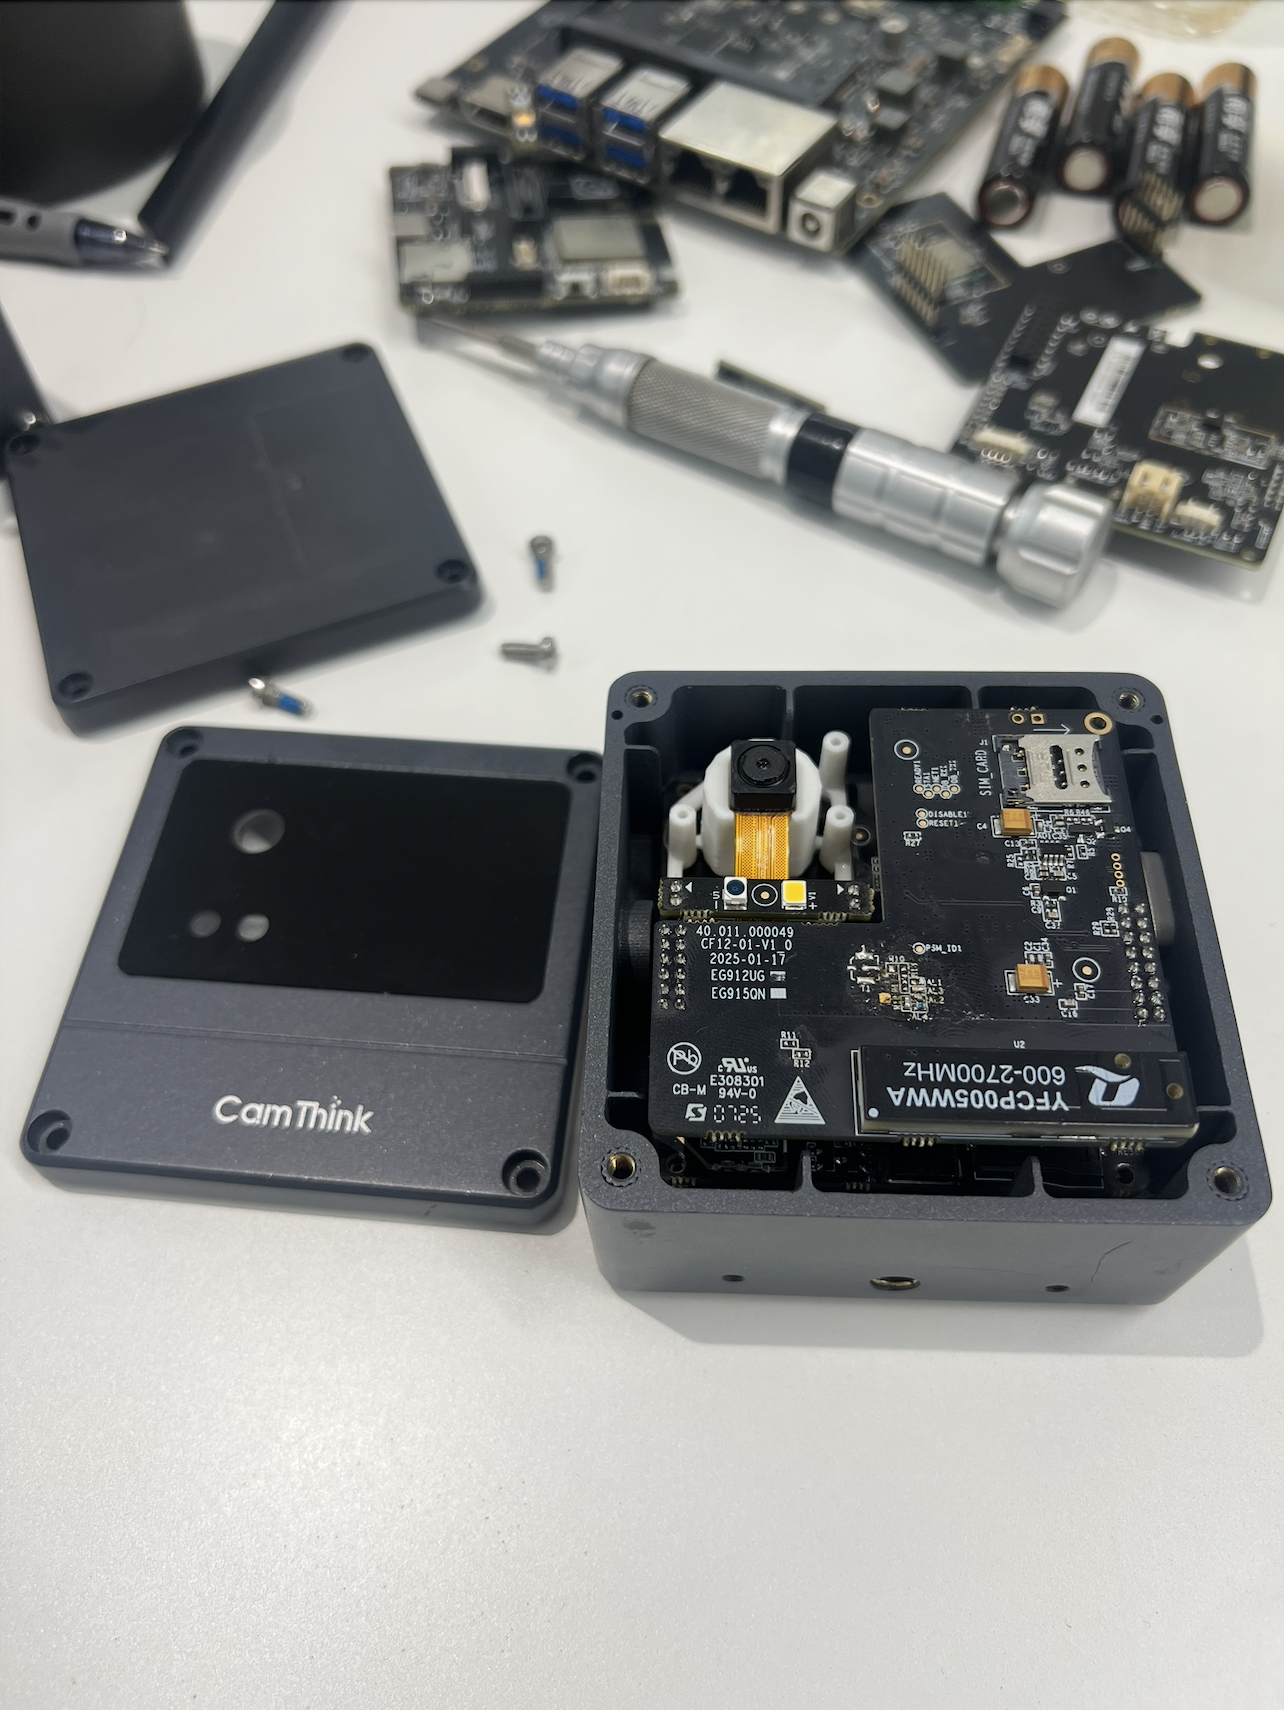
Product Preparation
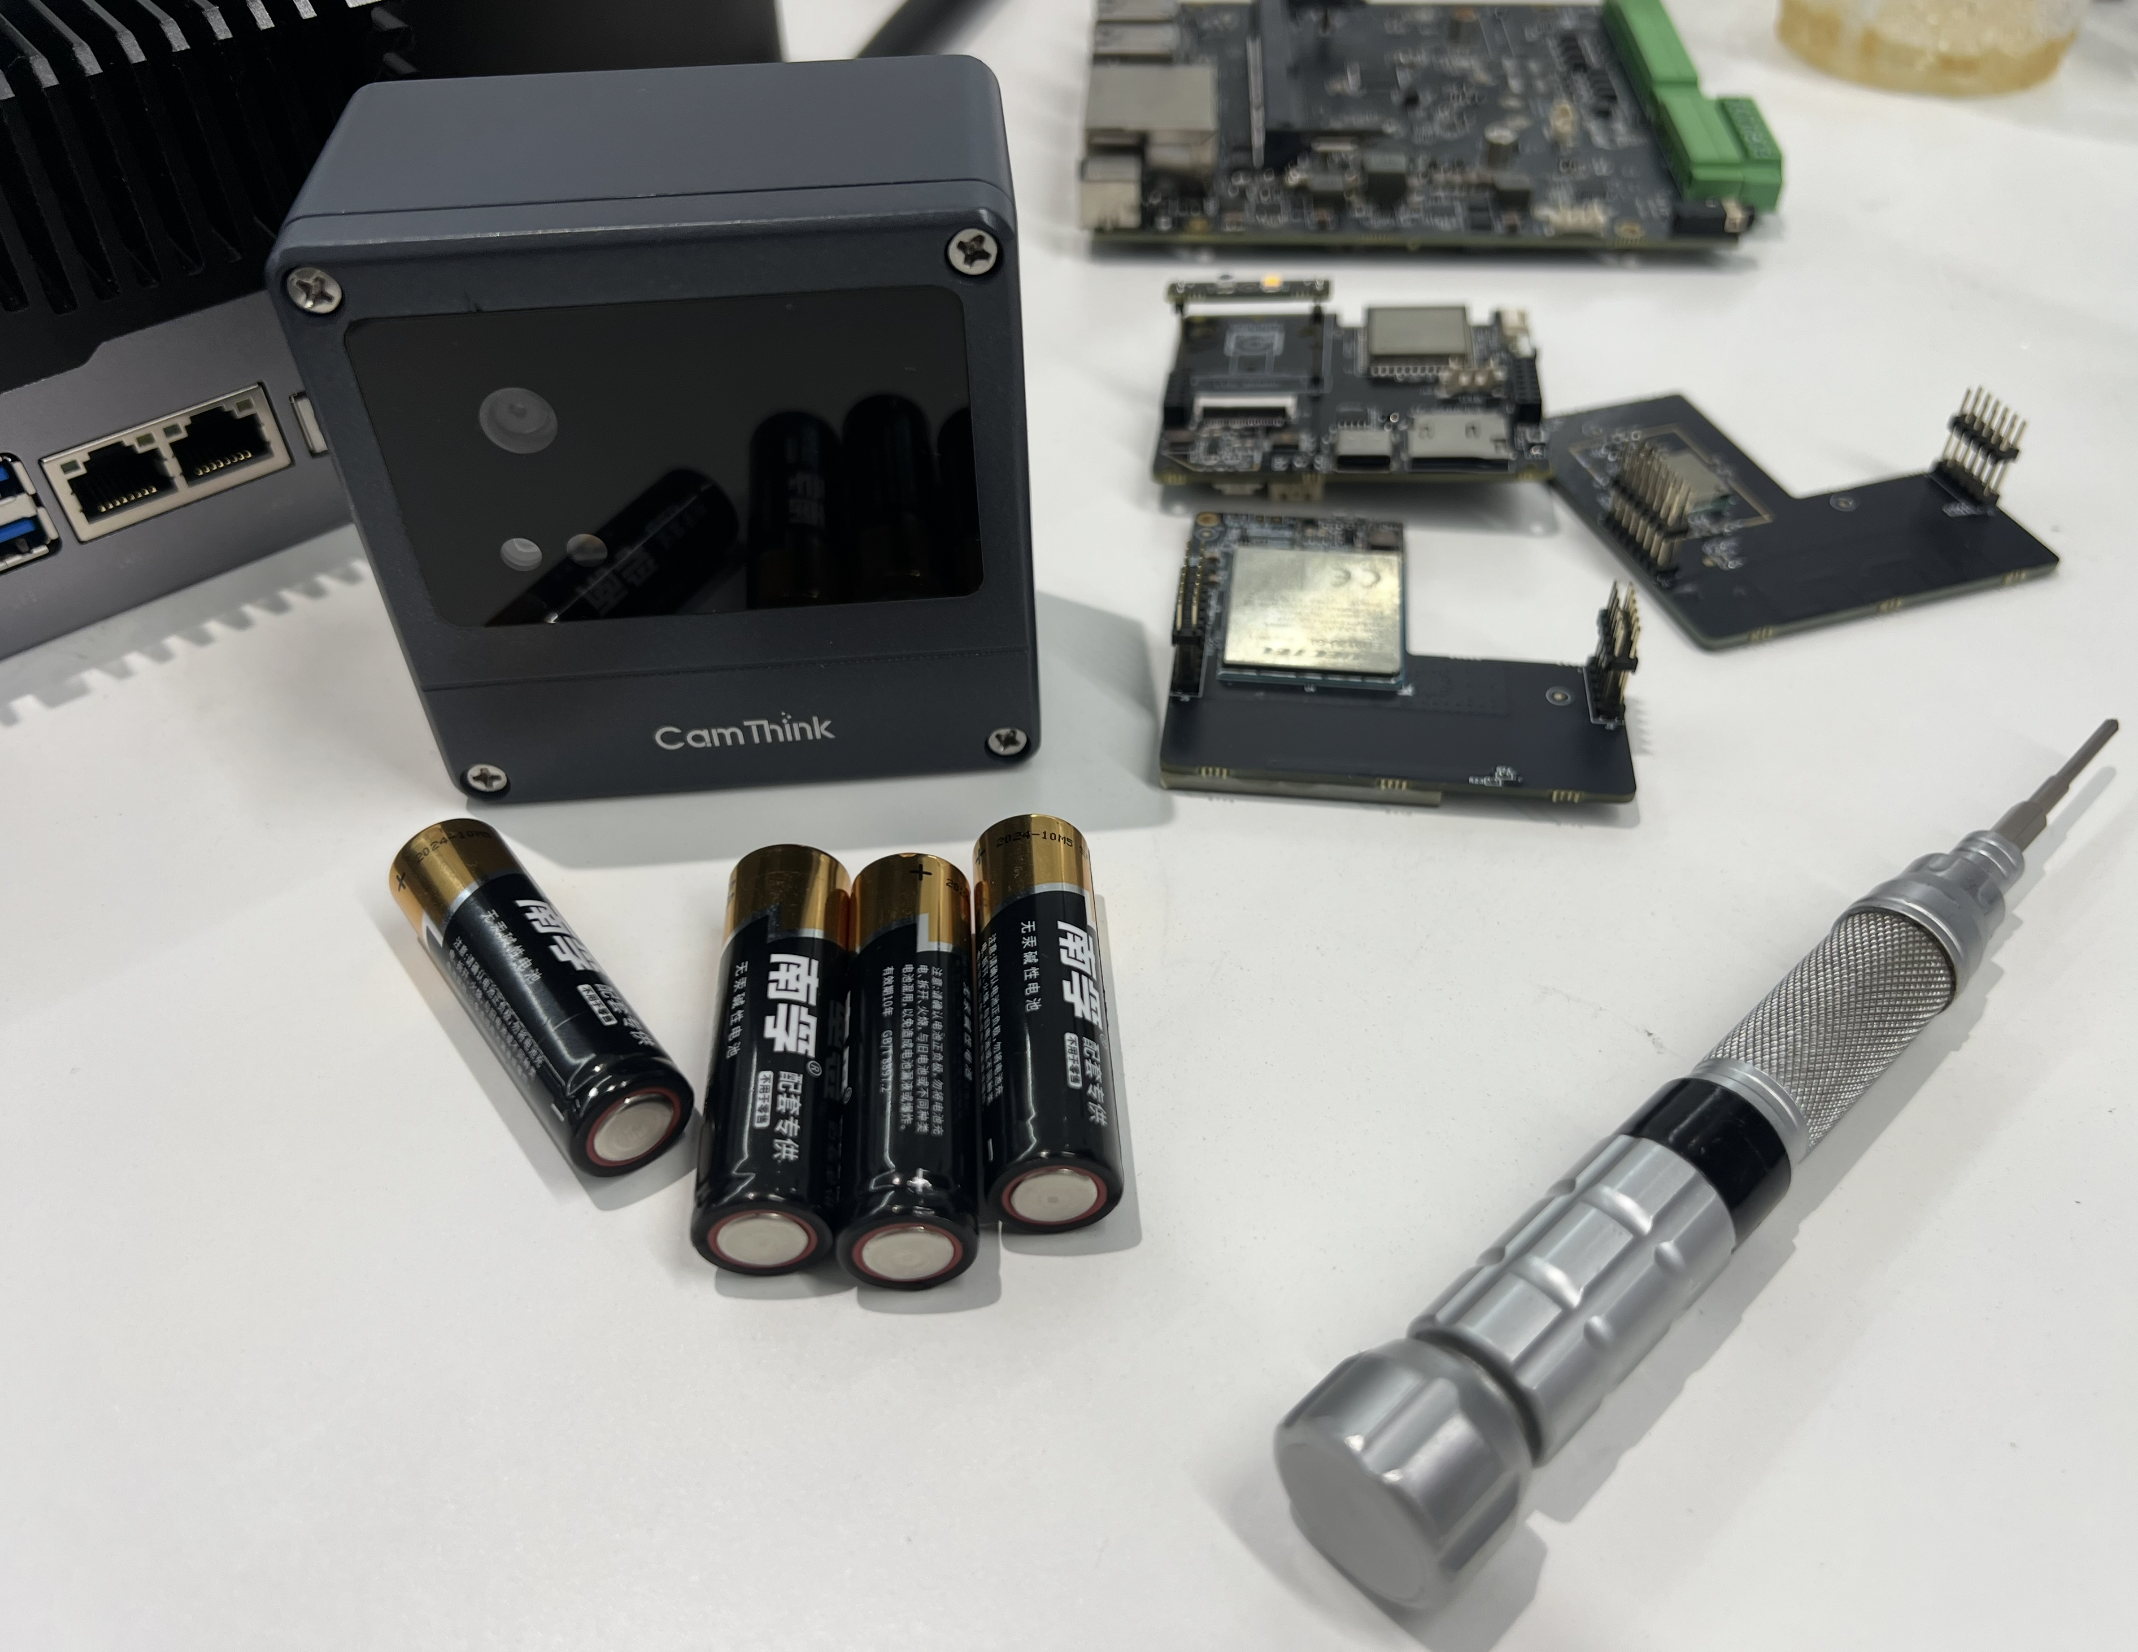
Before starting, prepare the following items: NE101 device, 4×AA batteries (size 5), a Phillips screwdriver, and optional accessories such as Cat-1 communication module or WiFi-Halow module. If you don't have an NE101 yet, visit our online store to purchase.
Device Operation
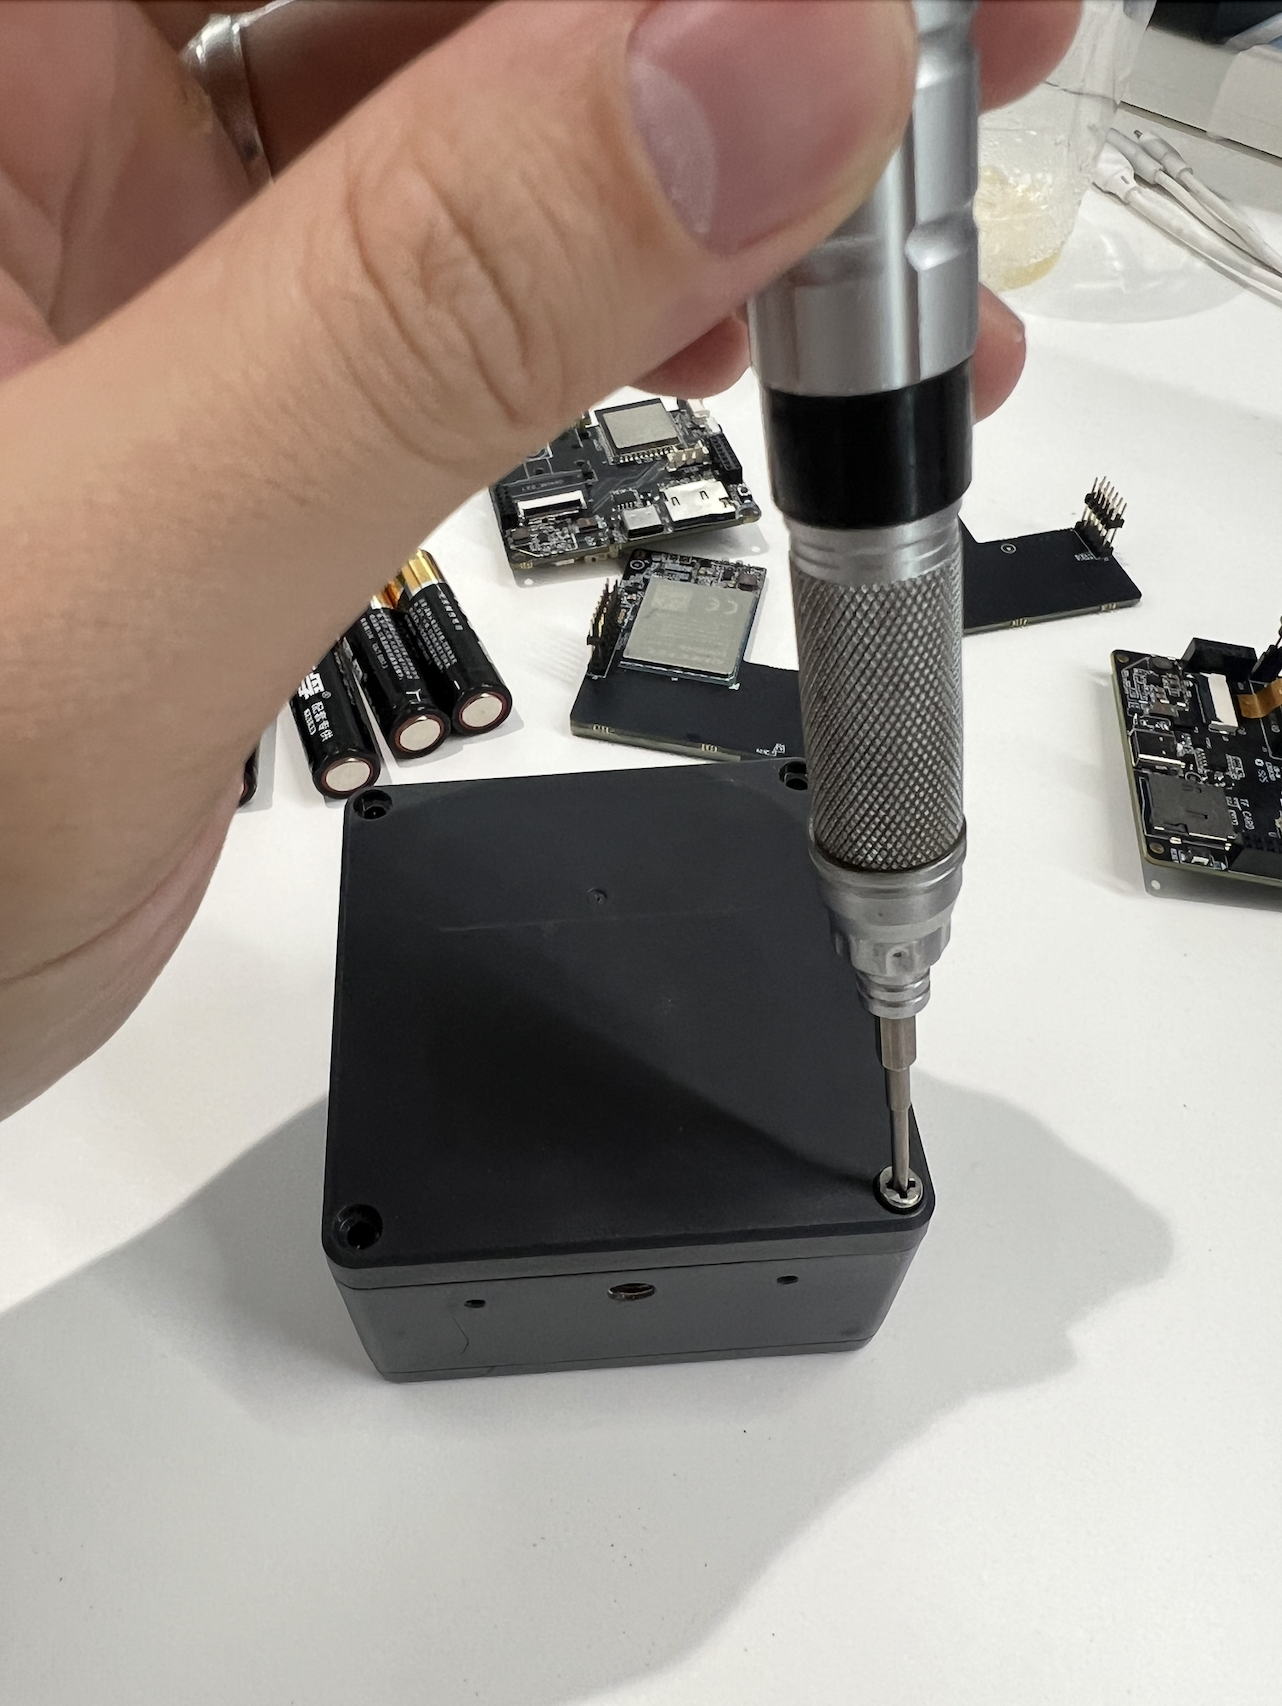
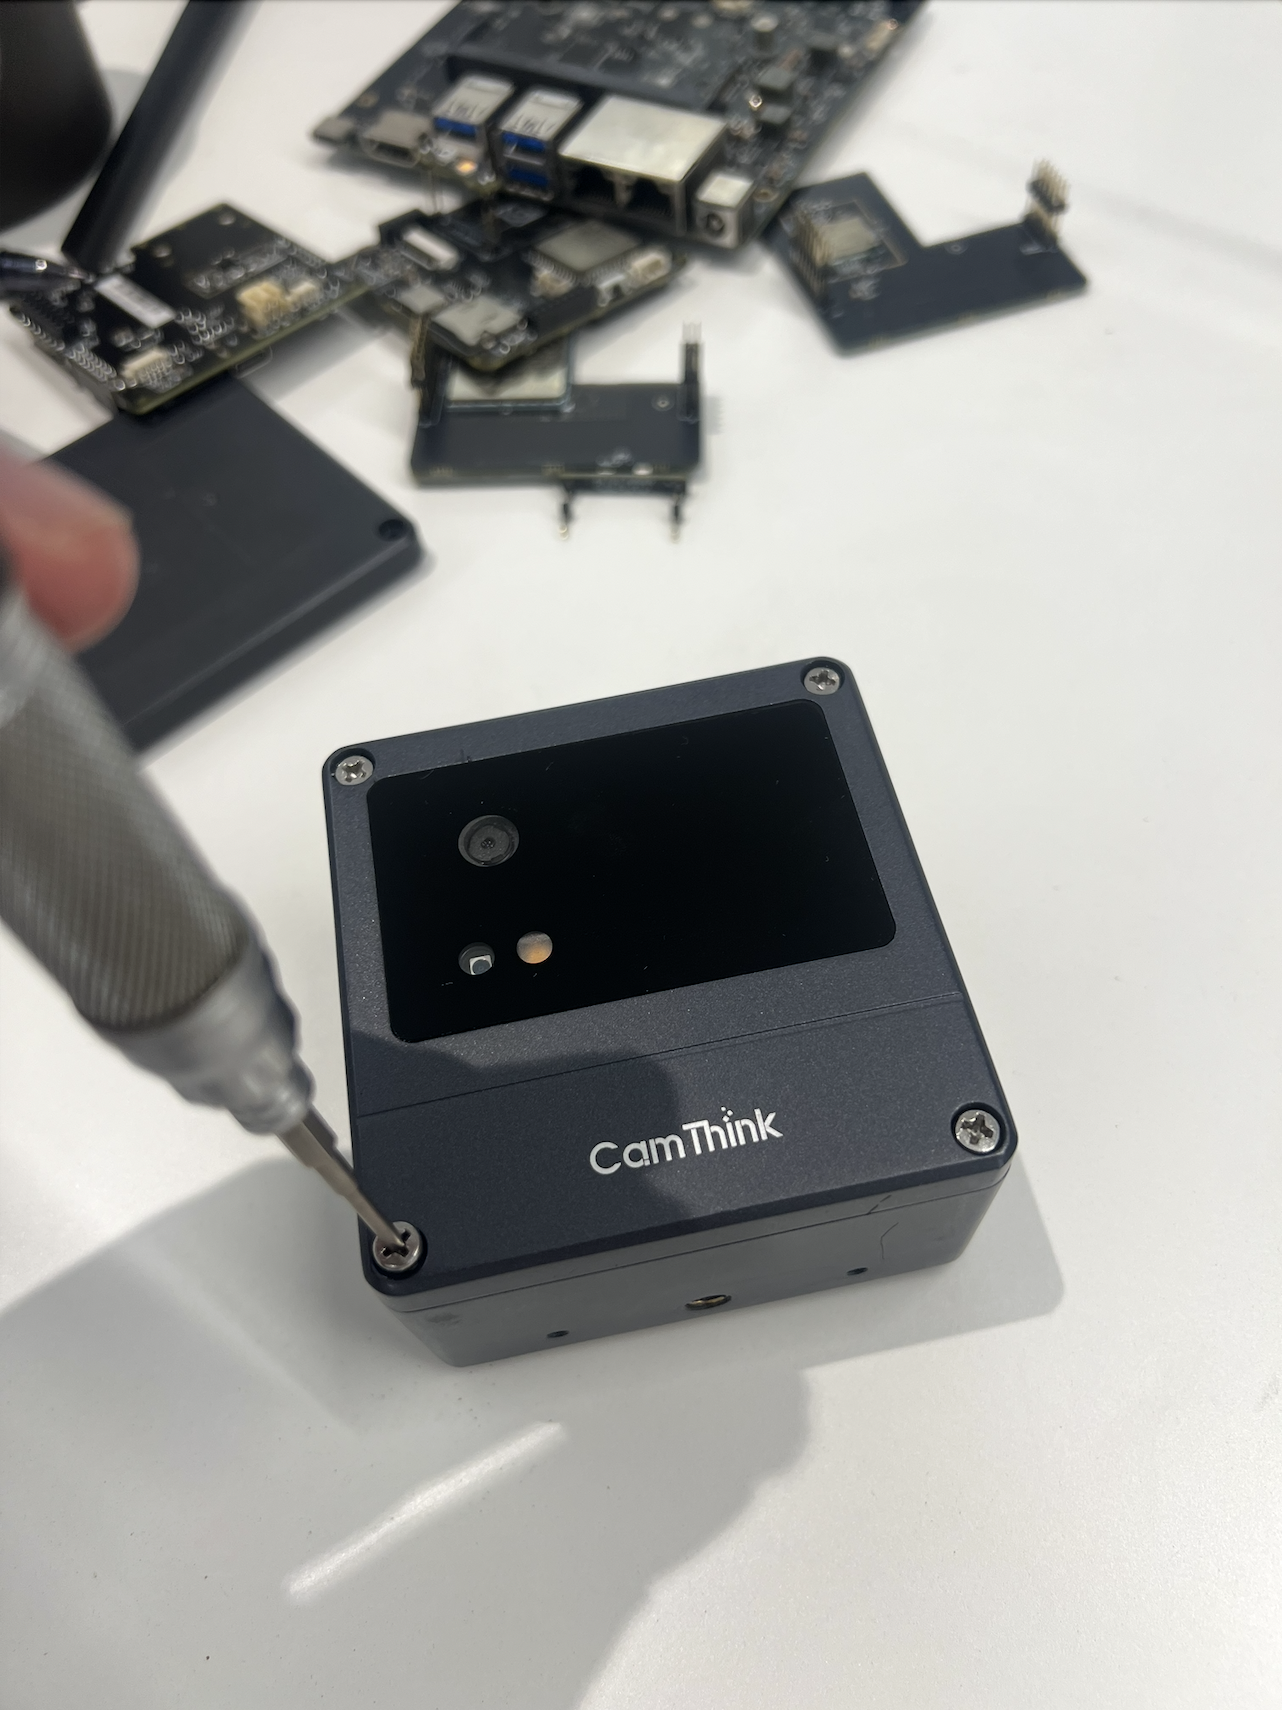
Powering On
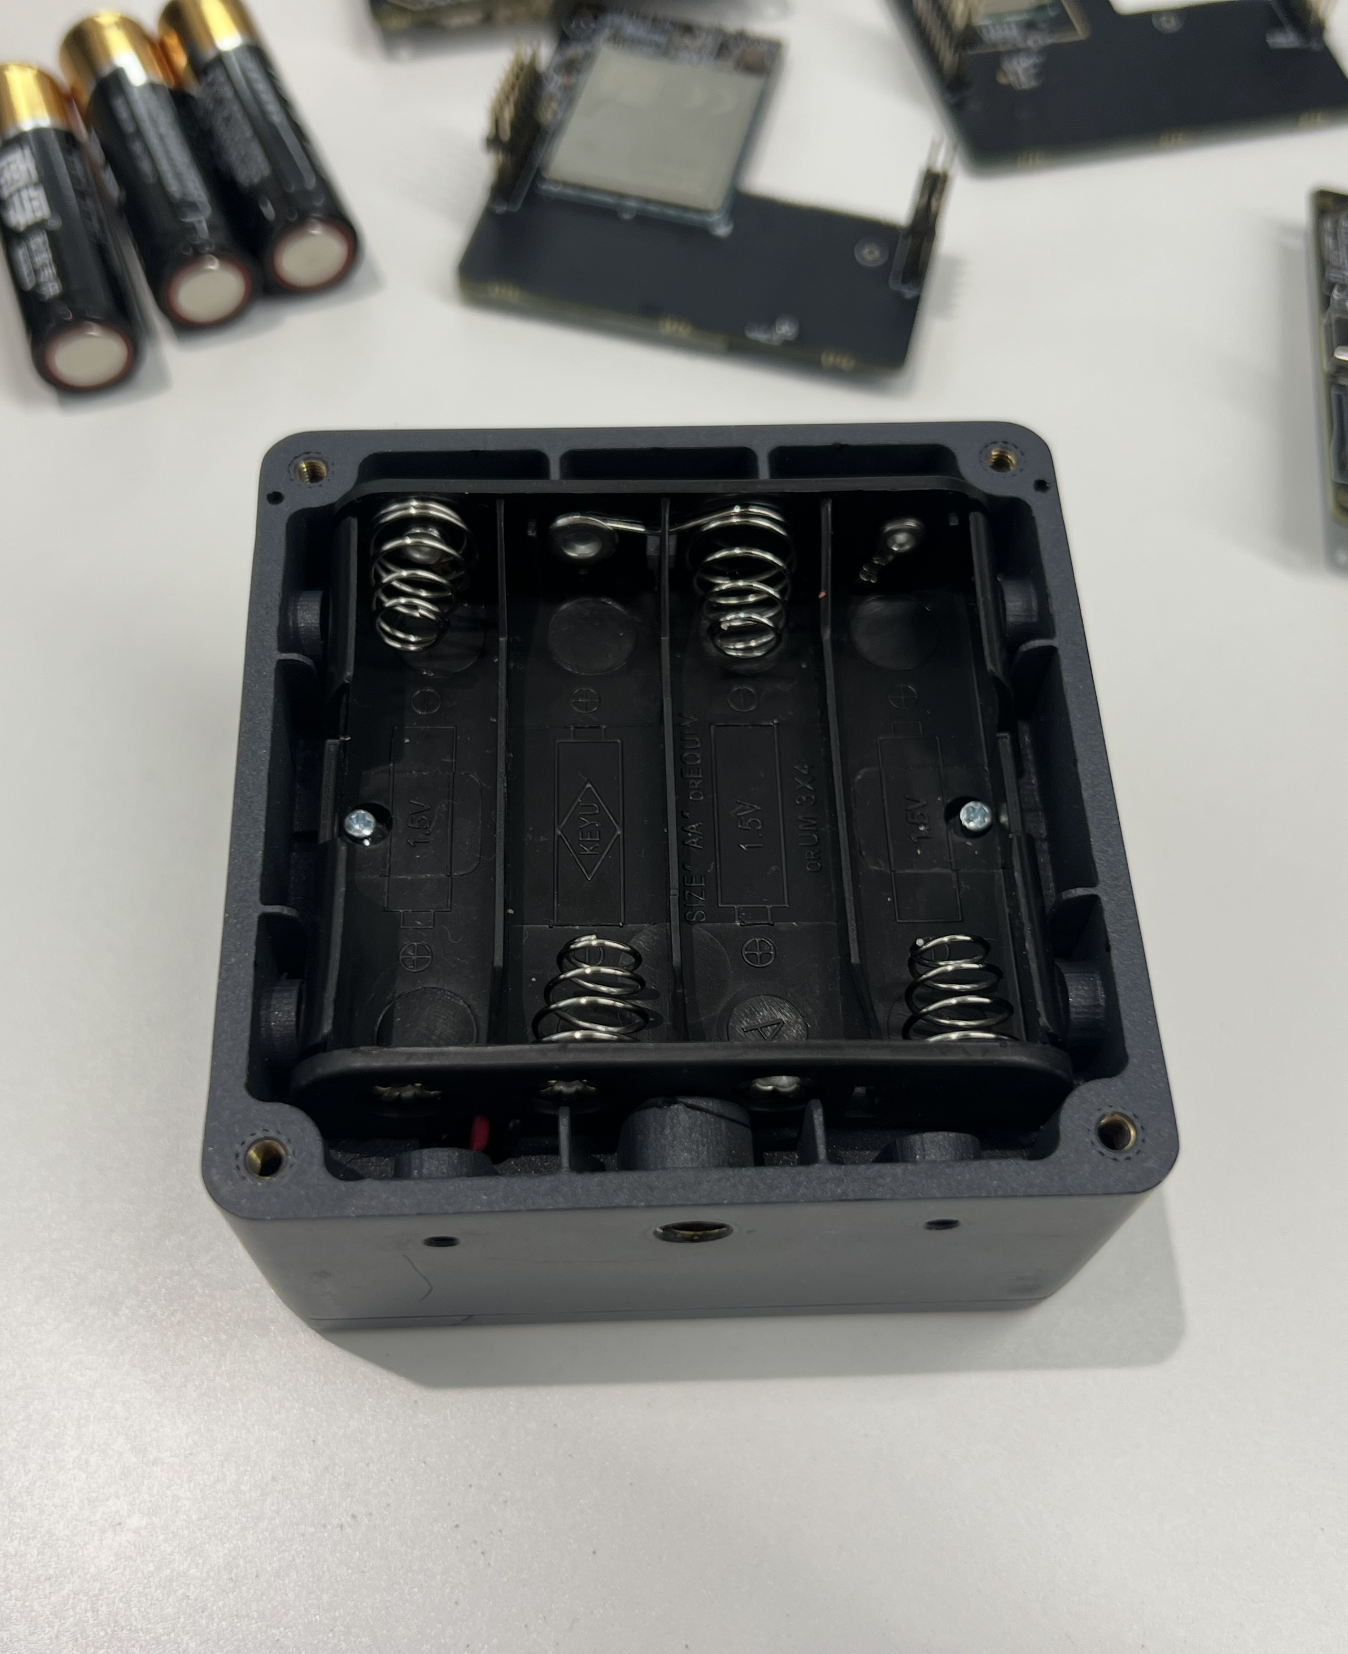
- Use the screwdriver to remove the rear cover.
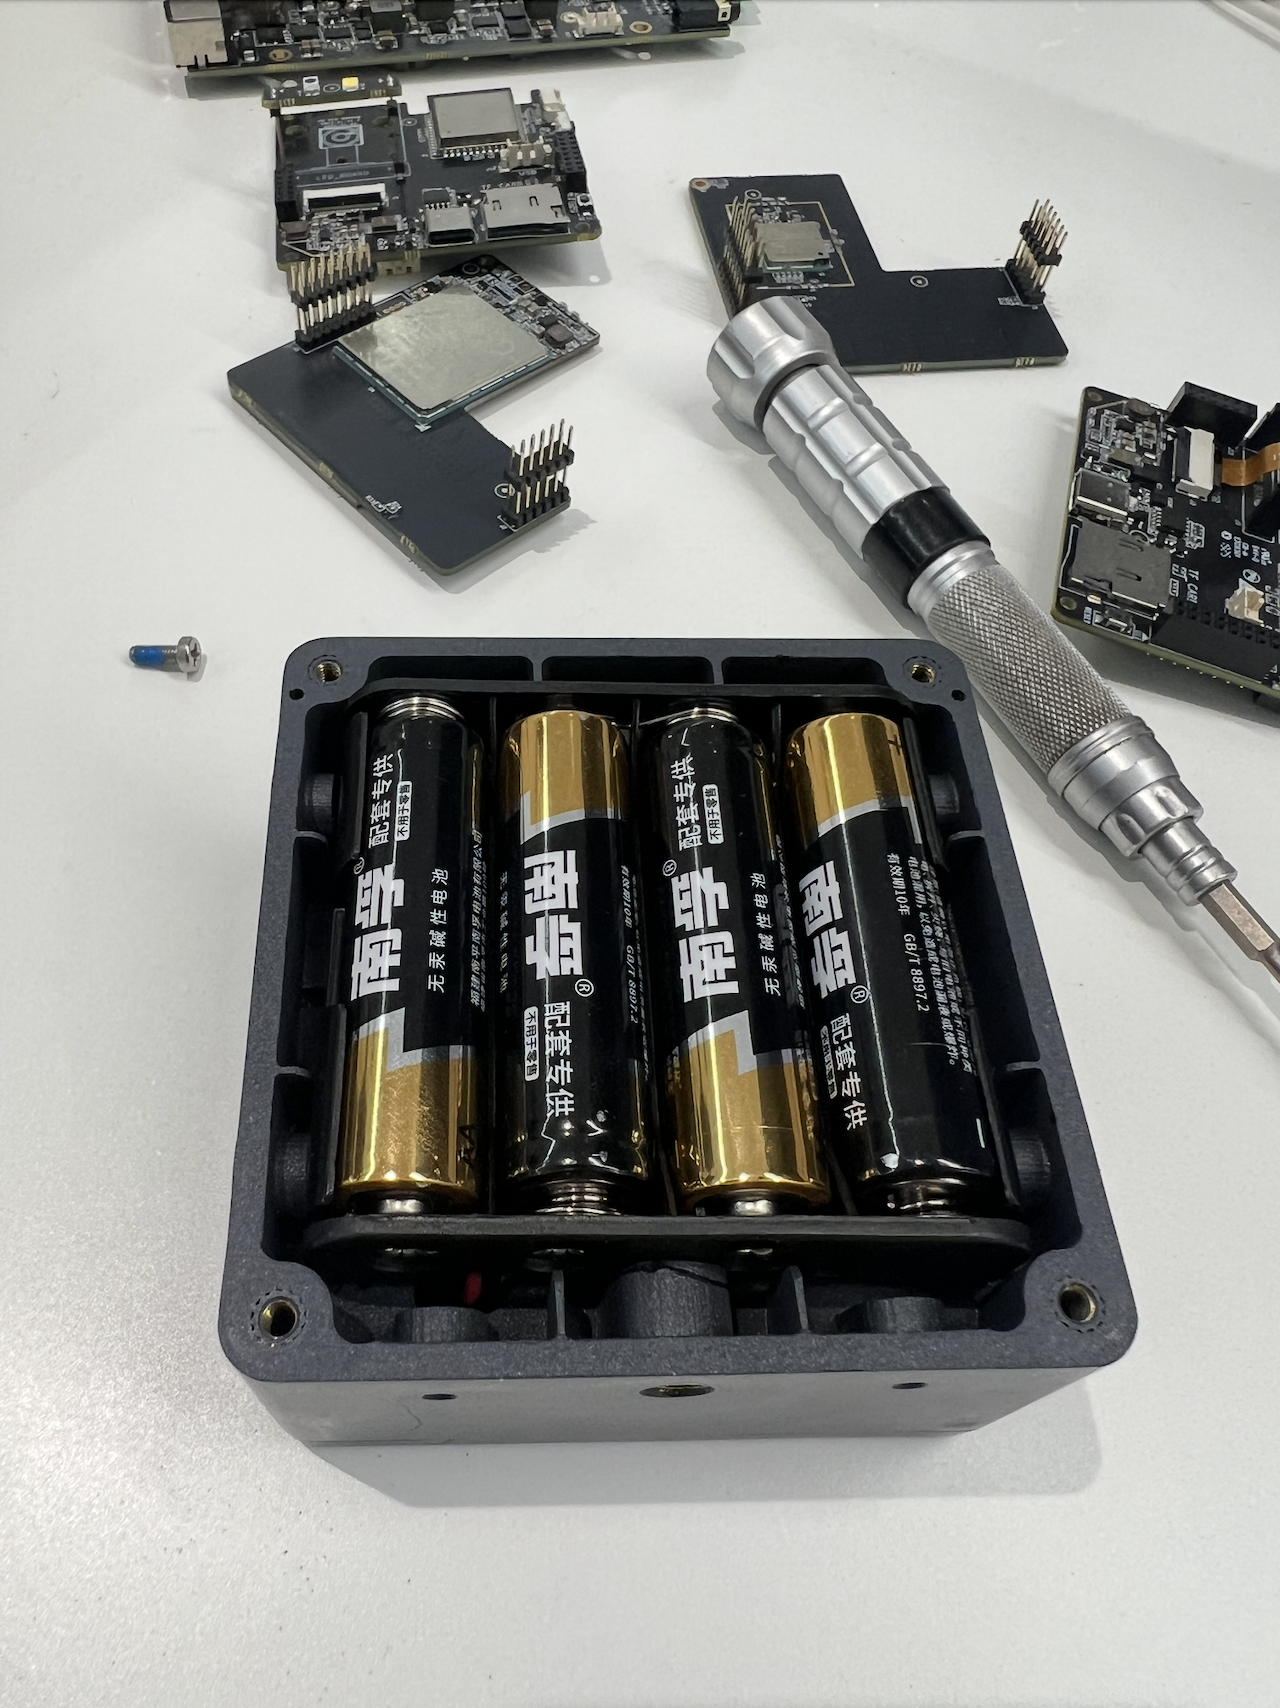
- Install batteries into the battery compartment as indicated.
- Wait for the indicator light on the front to flash, indicating successful boot-up.
- Reattach the rear cover.
Device Configuration
The NE101 provides a configuration web interface via its built-in WiFi AP (SSID: NE101_ABC123). Connect to this AP using a smartphone/computer, then access http://192.168.1.1 to configure device parameters.
1. Verify Power Status
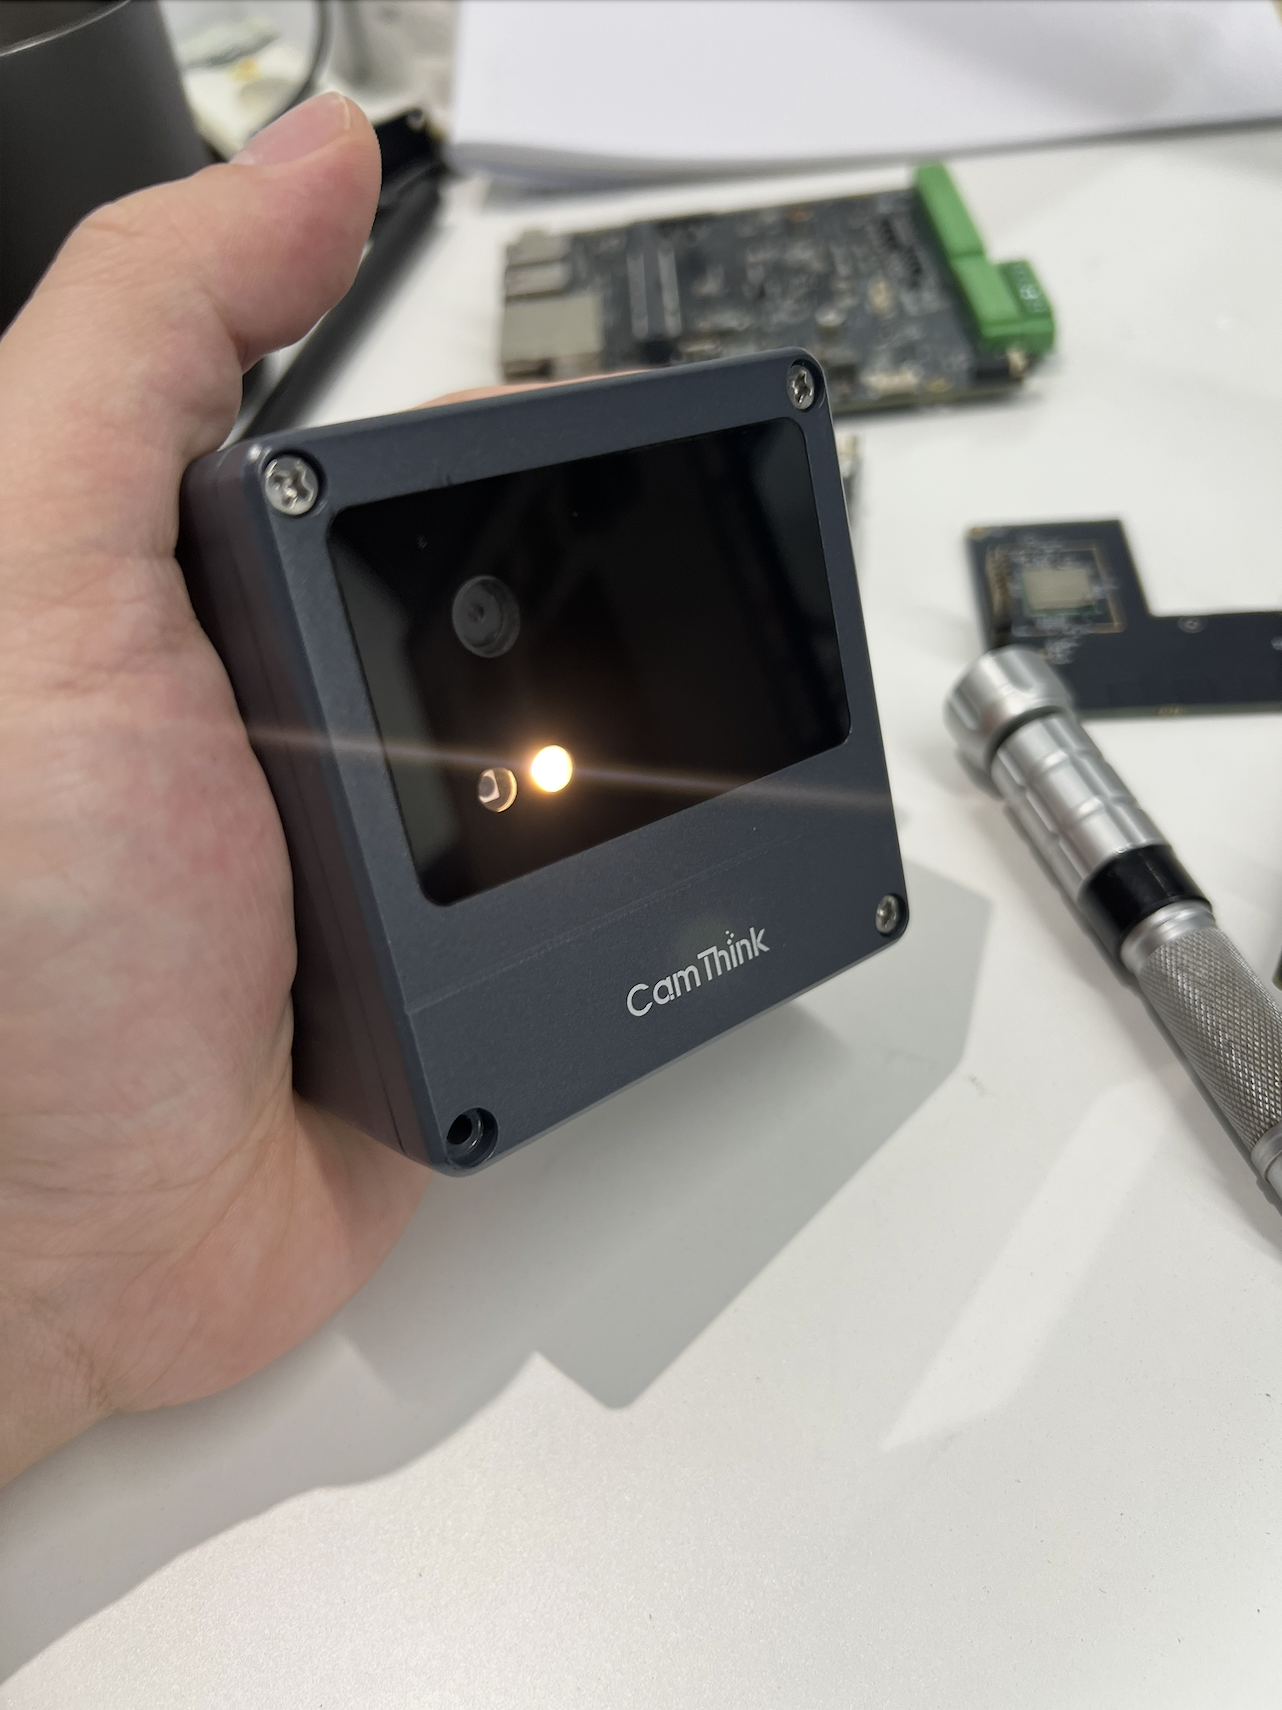
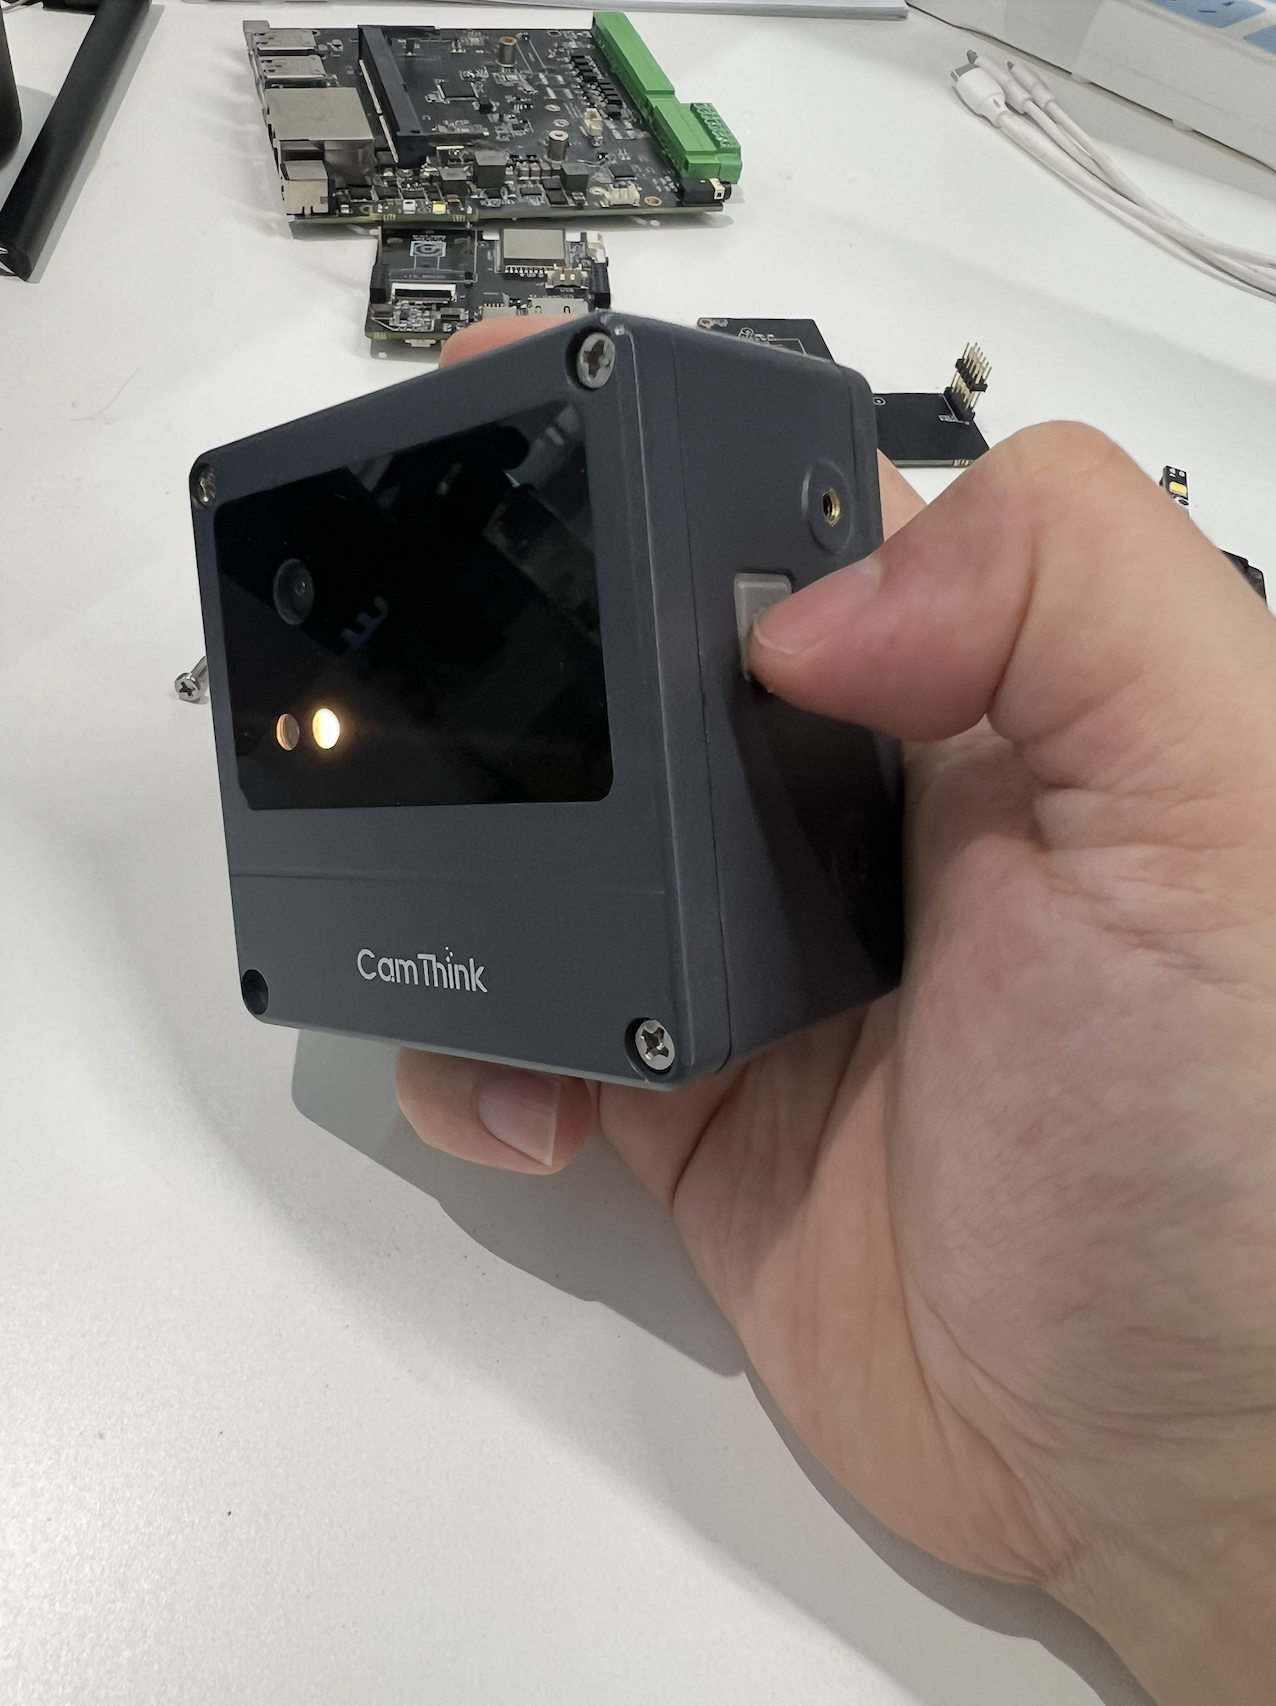
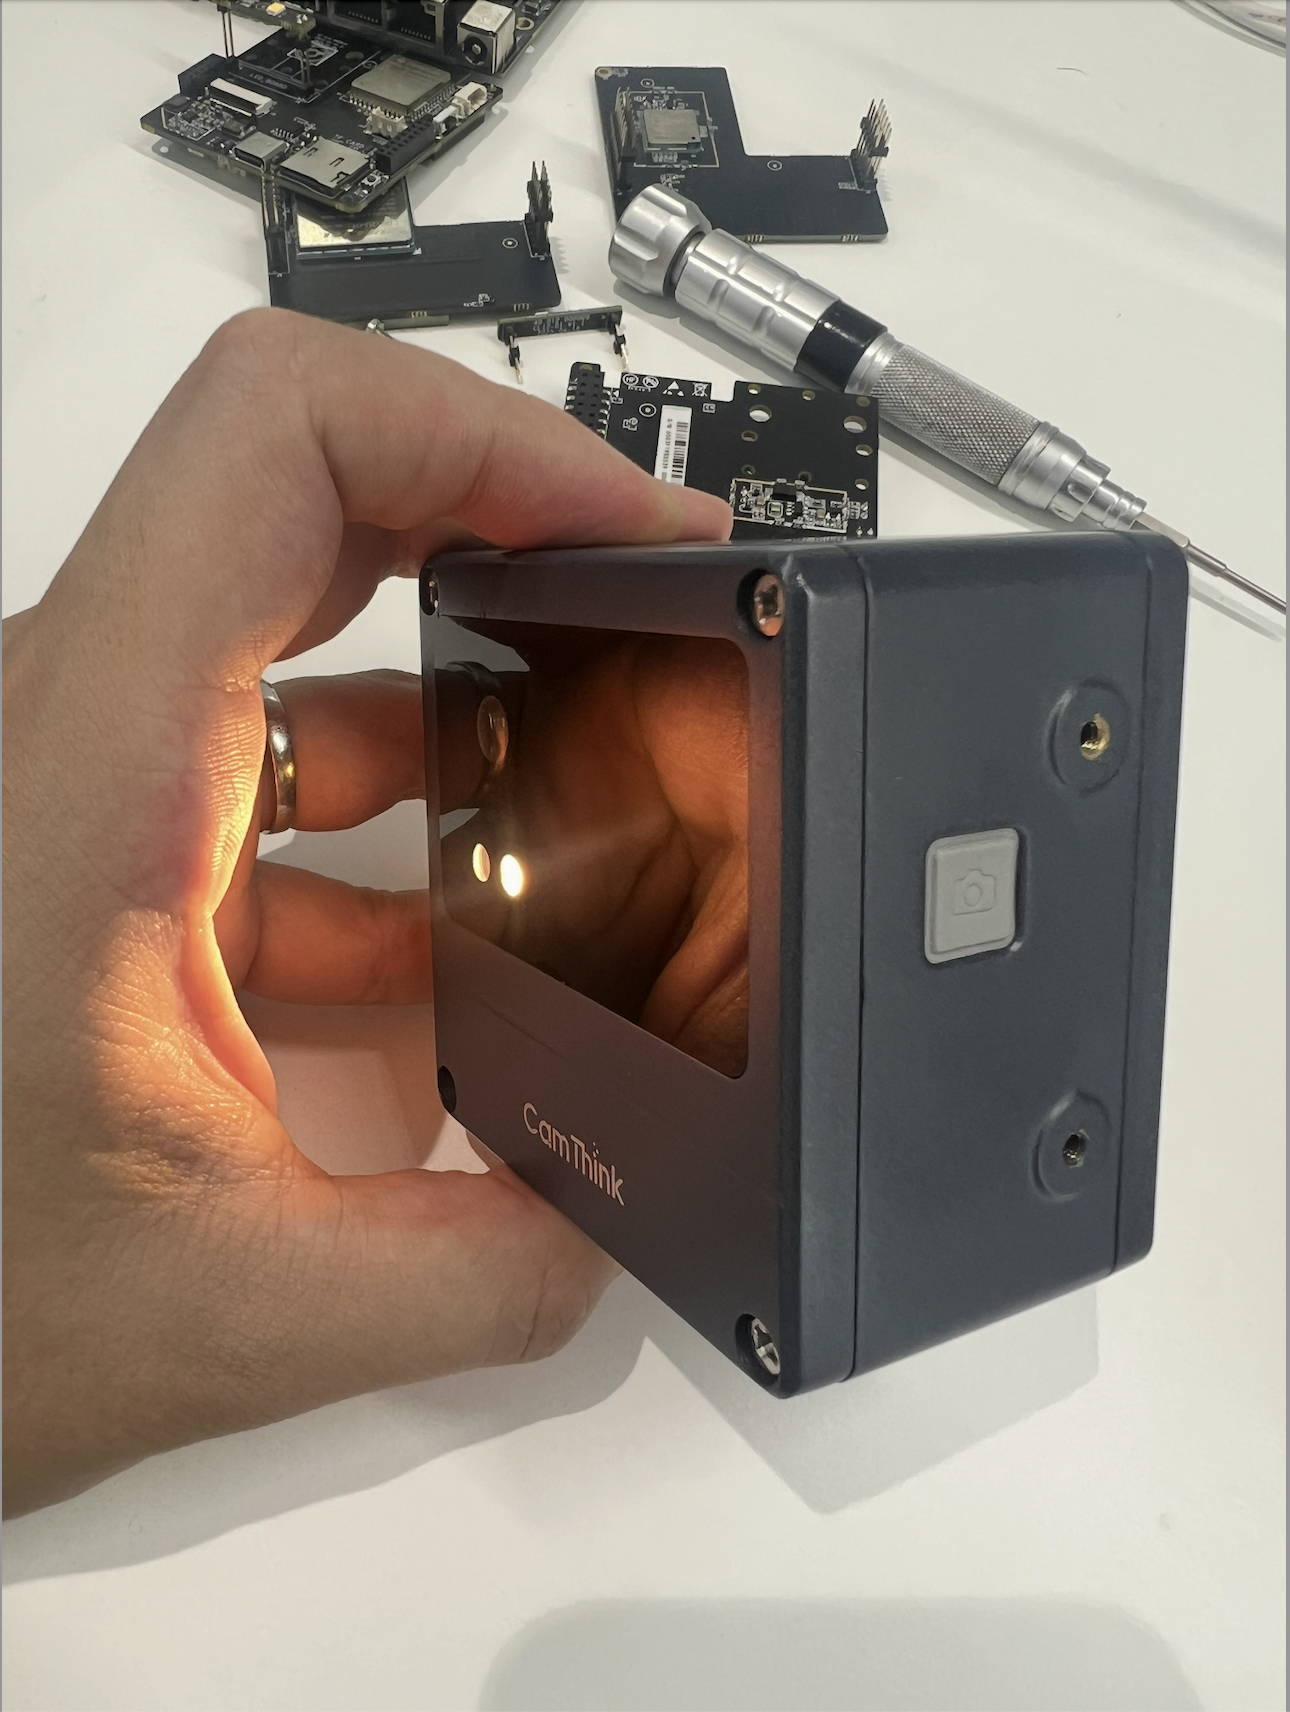
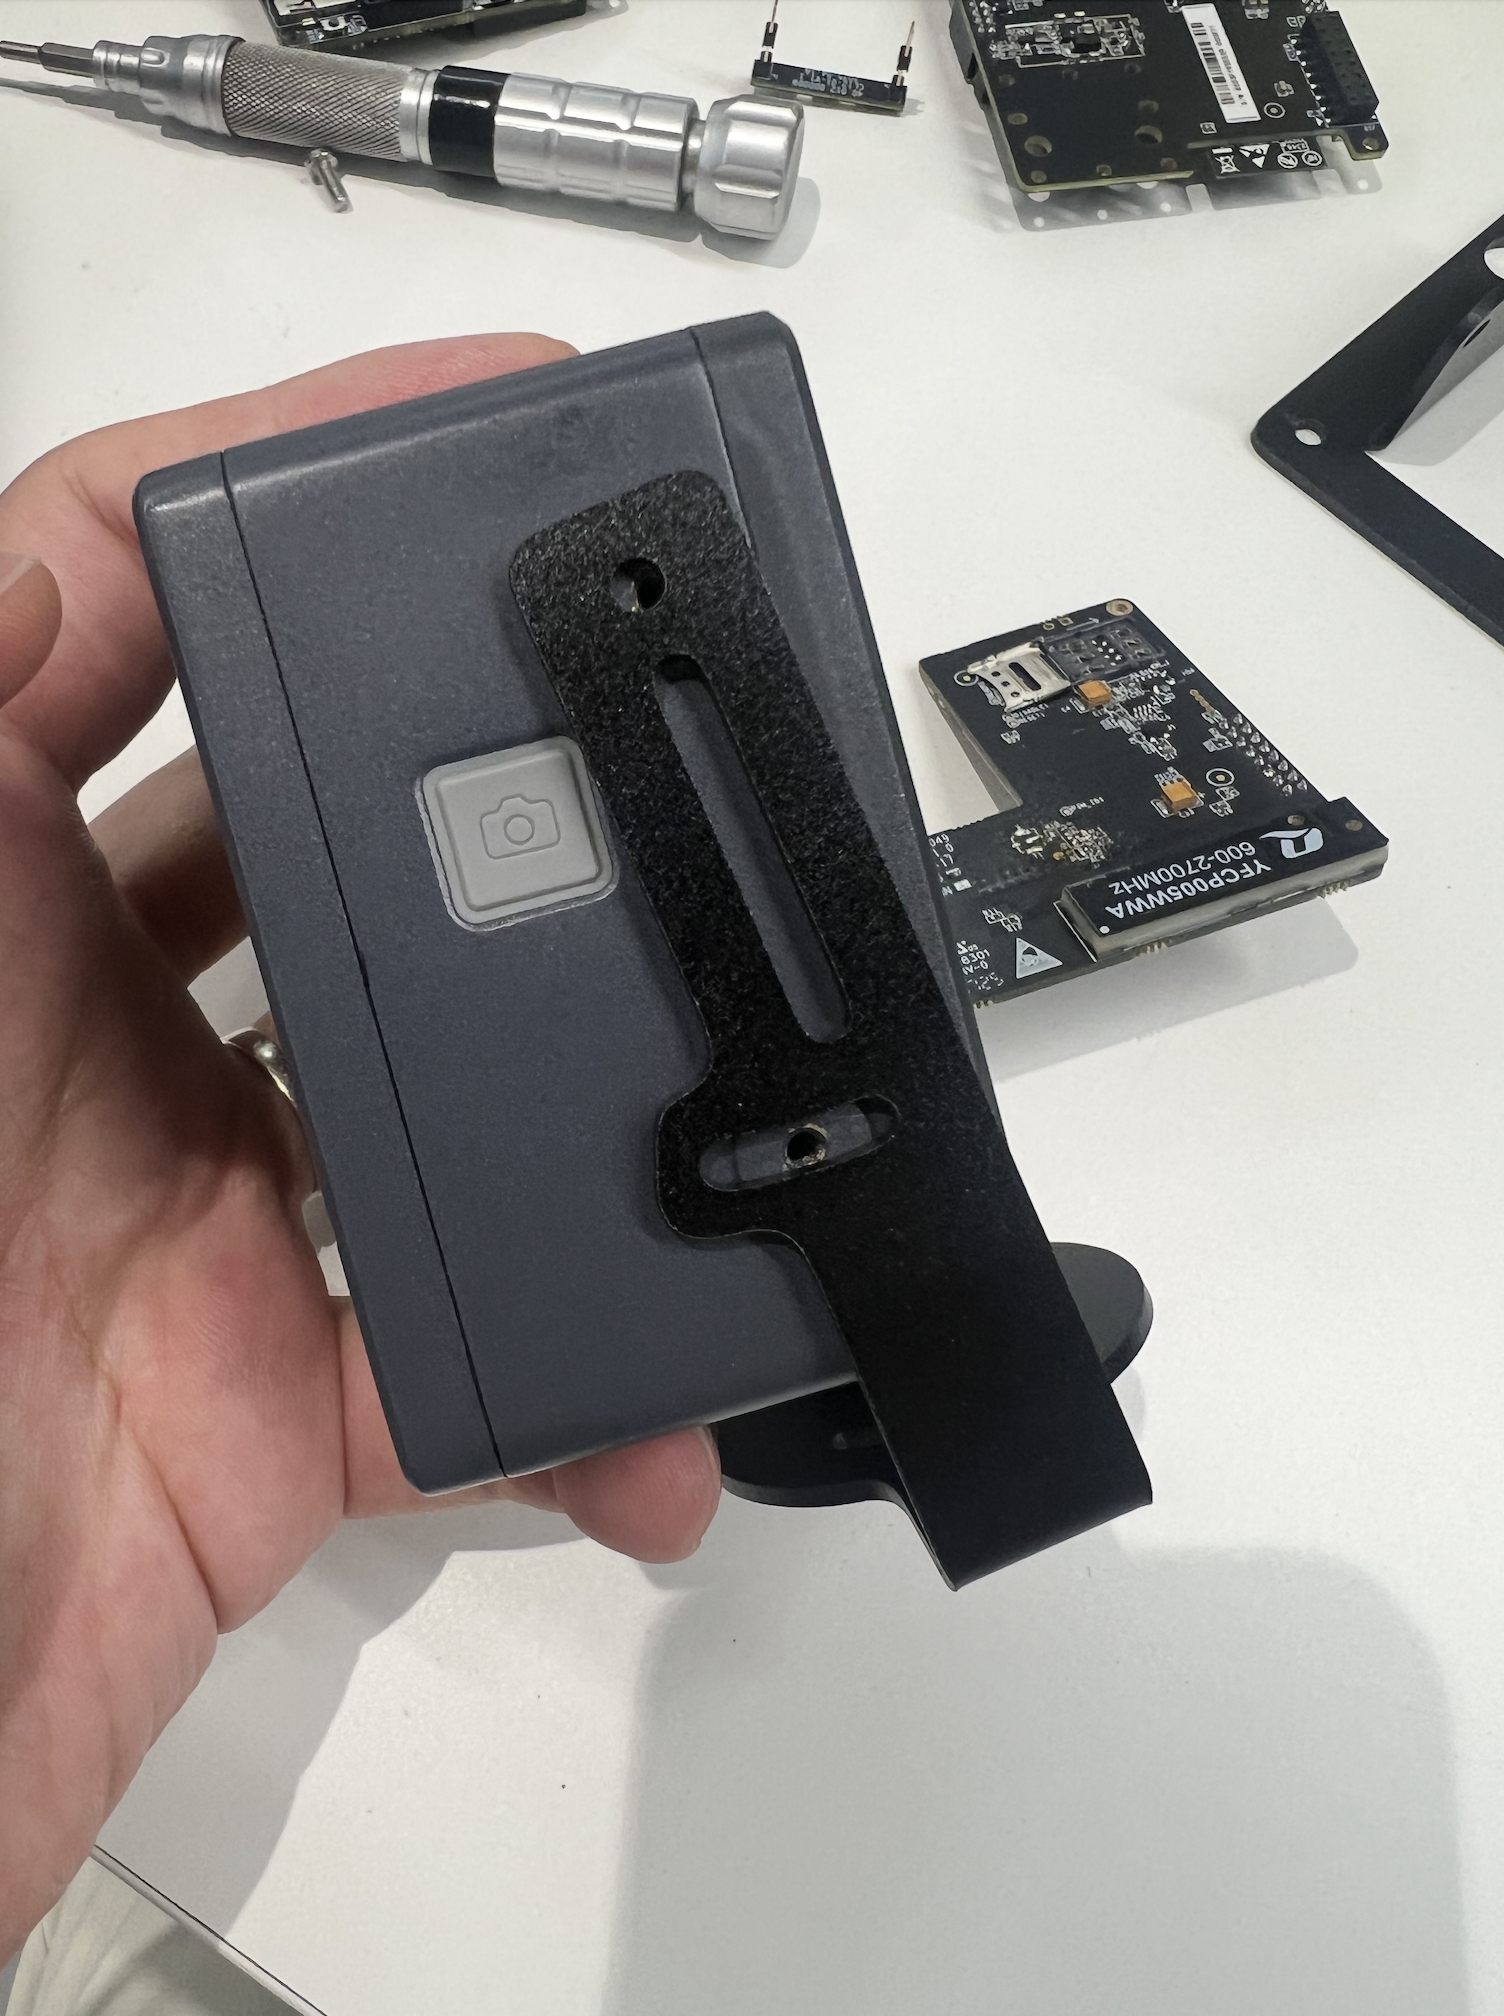
Press the capture button on the right side. If the flash activates, the device is powered on. In normal operation, pressing this button triggers image capture and MQTT upload.
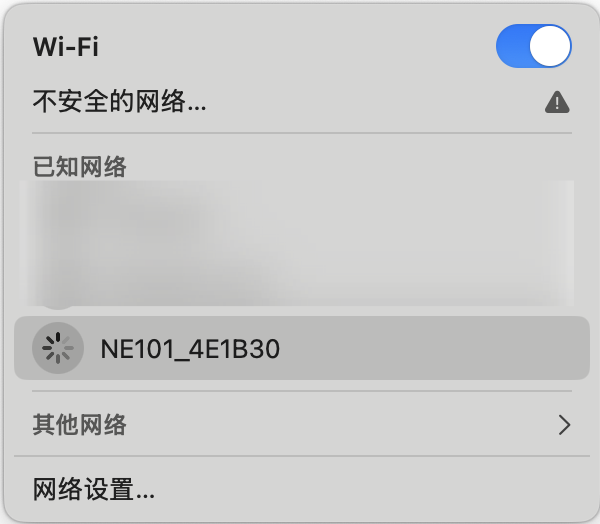
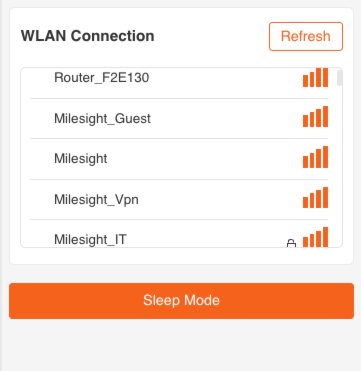
2. Connect to WiFi AP
After booting, locate the NE101_ABC123 WiFi network and connect (no password required). For newer firmware versions, long-press the capture button for 3 seconds to activate the AP mode (indicator flashes).
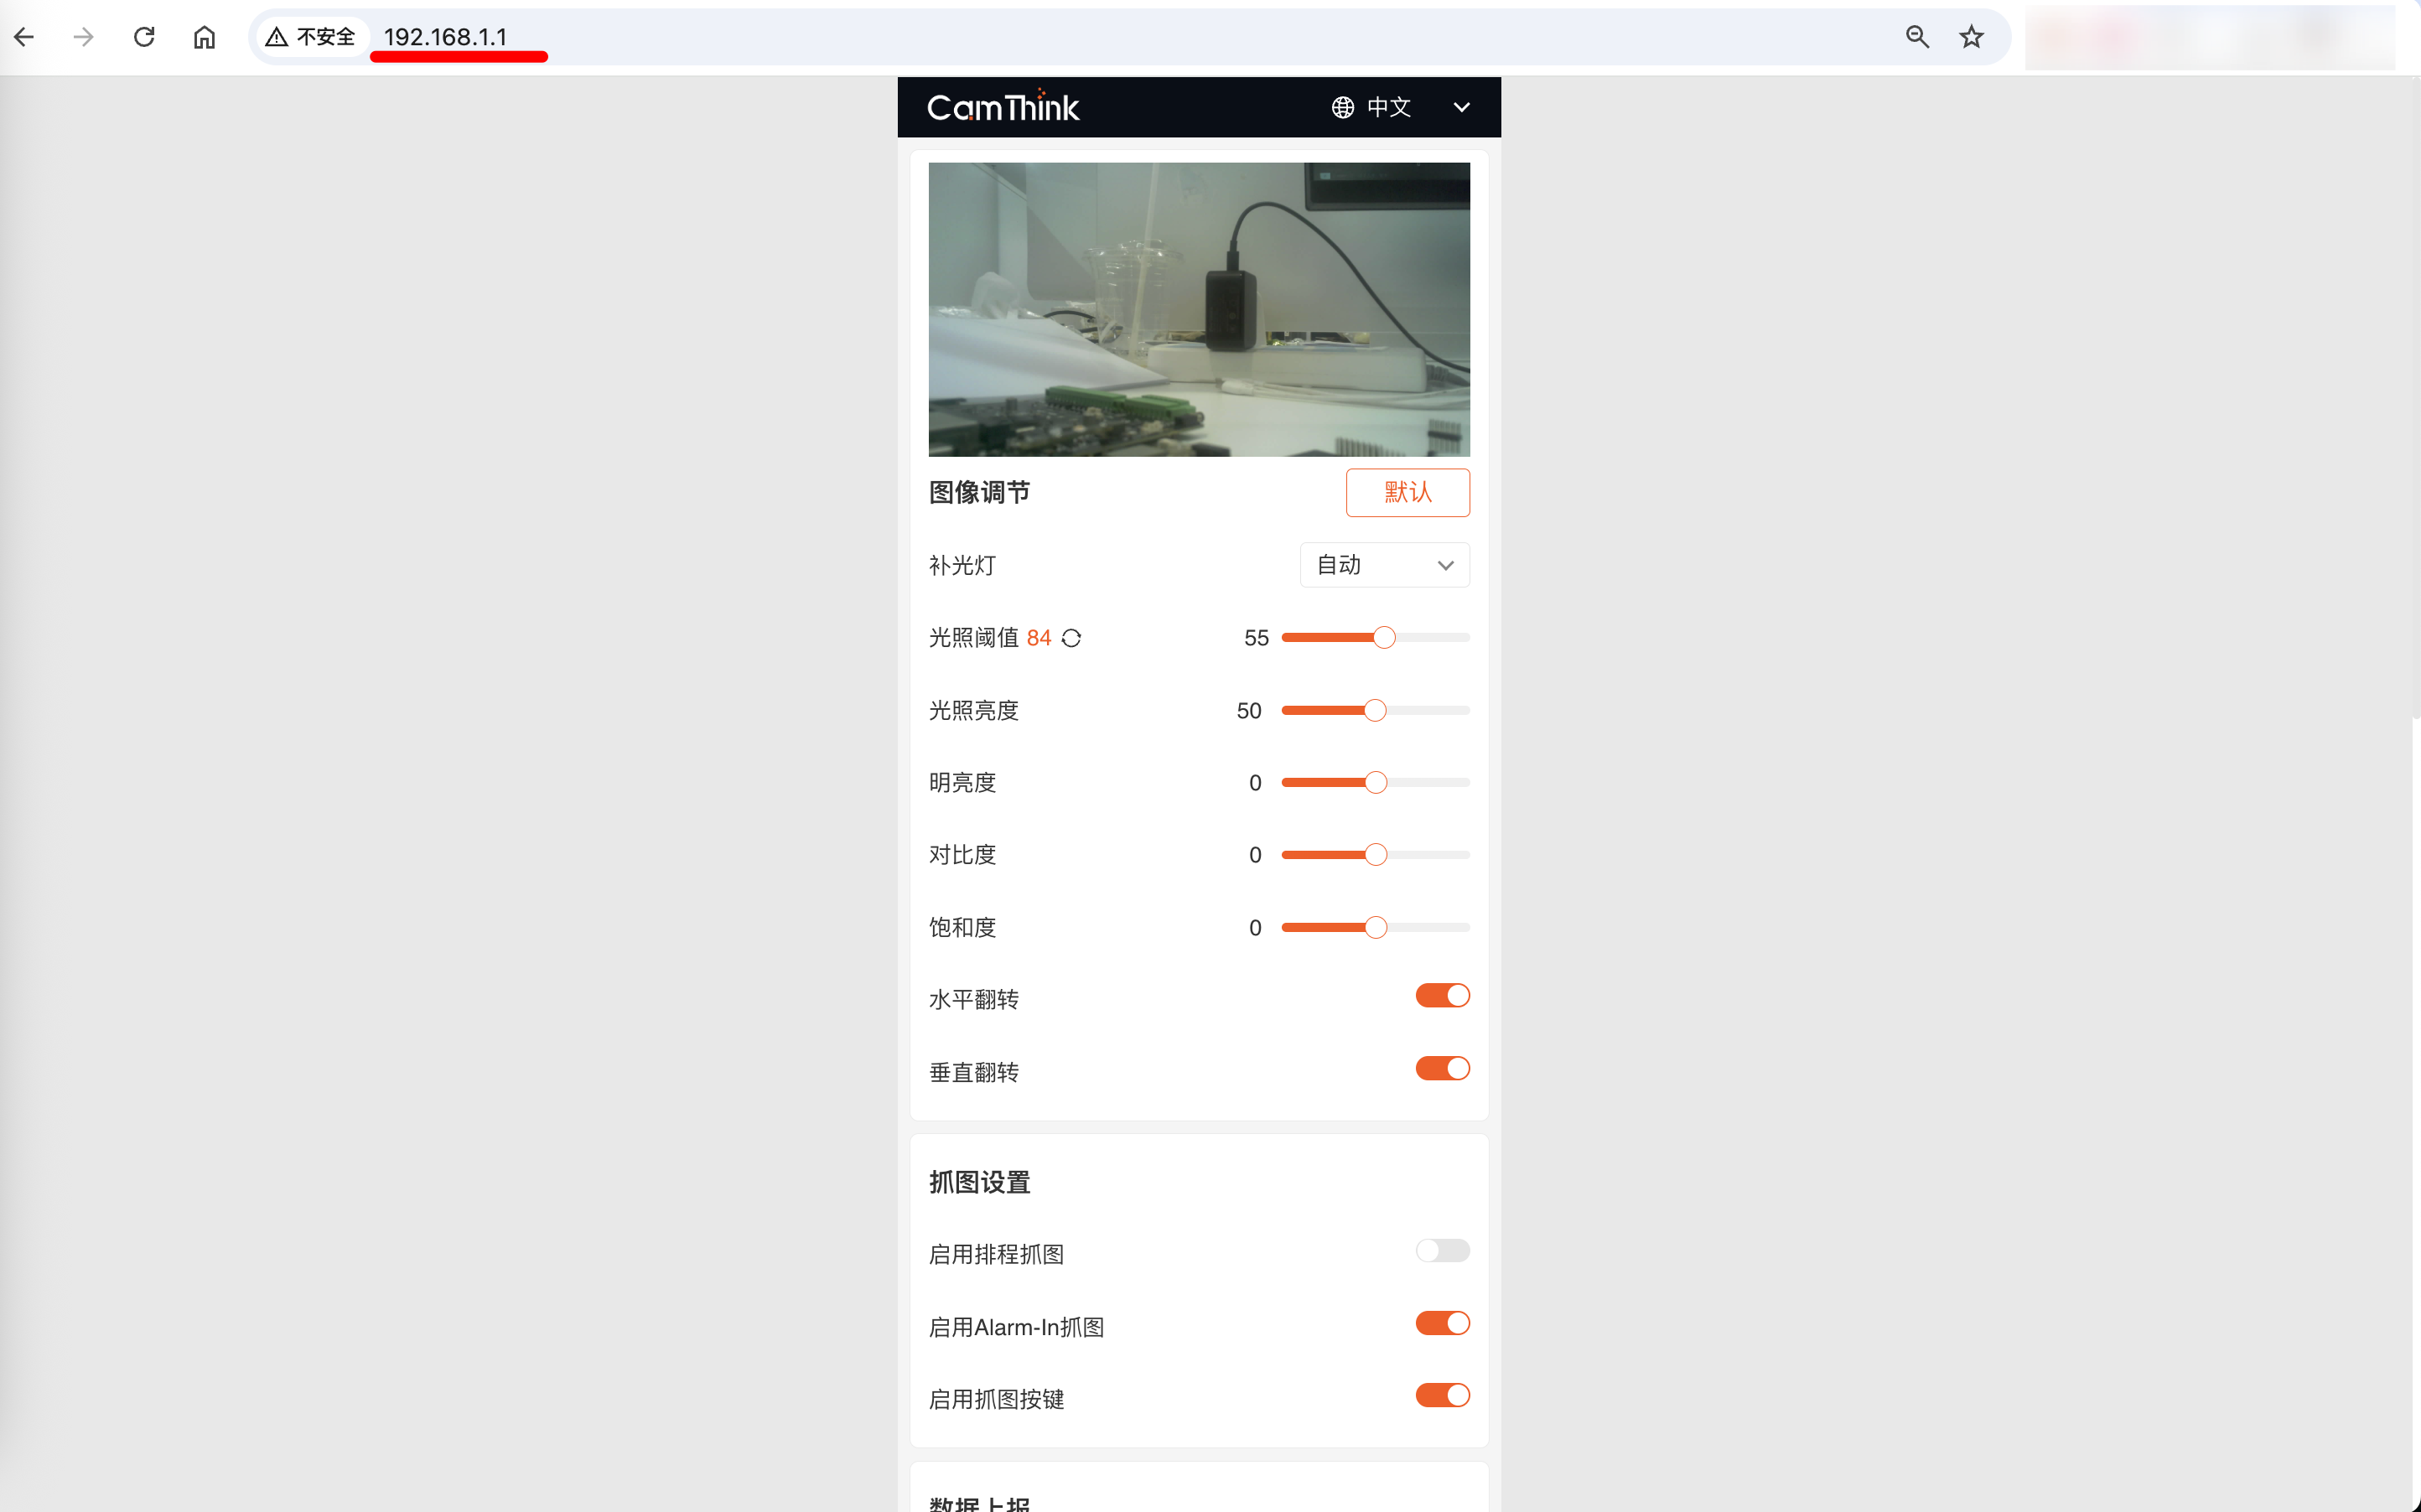
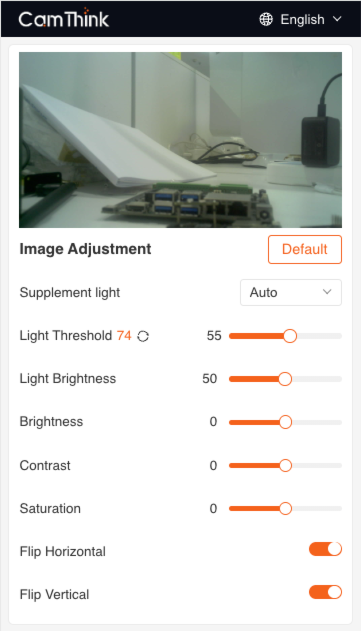
3. Configuration Settings
Image Settings
Applies to OV5640 camera modules. USB modules only support fill light settings.
- Reset Button: Restores factory settings for OV5640 modules.
- Fill Light Mode:
- Auto: Activates fill light when ambient light drops below a set threshold (adjustable via light sensor data).
- Custom: Enables scheduled operation with time ranges and intensity (1-100).
- Always On/Off: Constant fill light state.
- Image Adjustments:
- Brightness/Contrast/Saturation: 0-2 scales.
- Horizontal/Vertical Flip: For installation adjustments.
Capture Settings
- Scheduled Capture:
- Timed Mode: Daily or weekly schedules (up to 8 time points).
- Interval Mode: Minute/hour/day-based intervals (single rule).

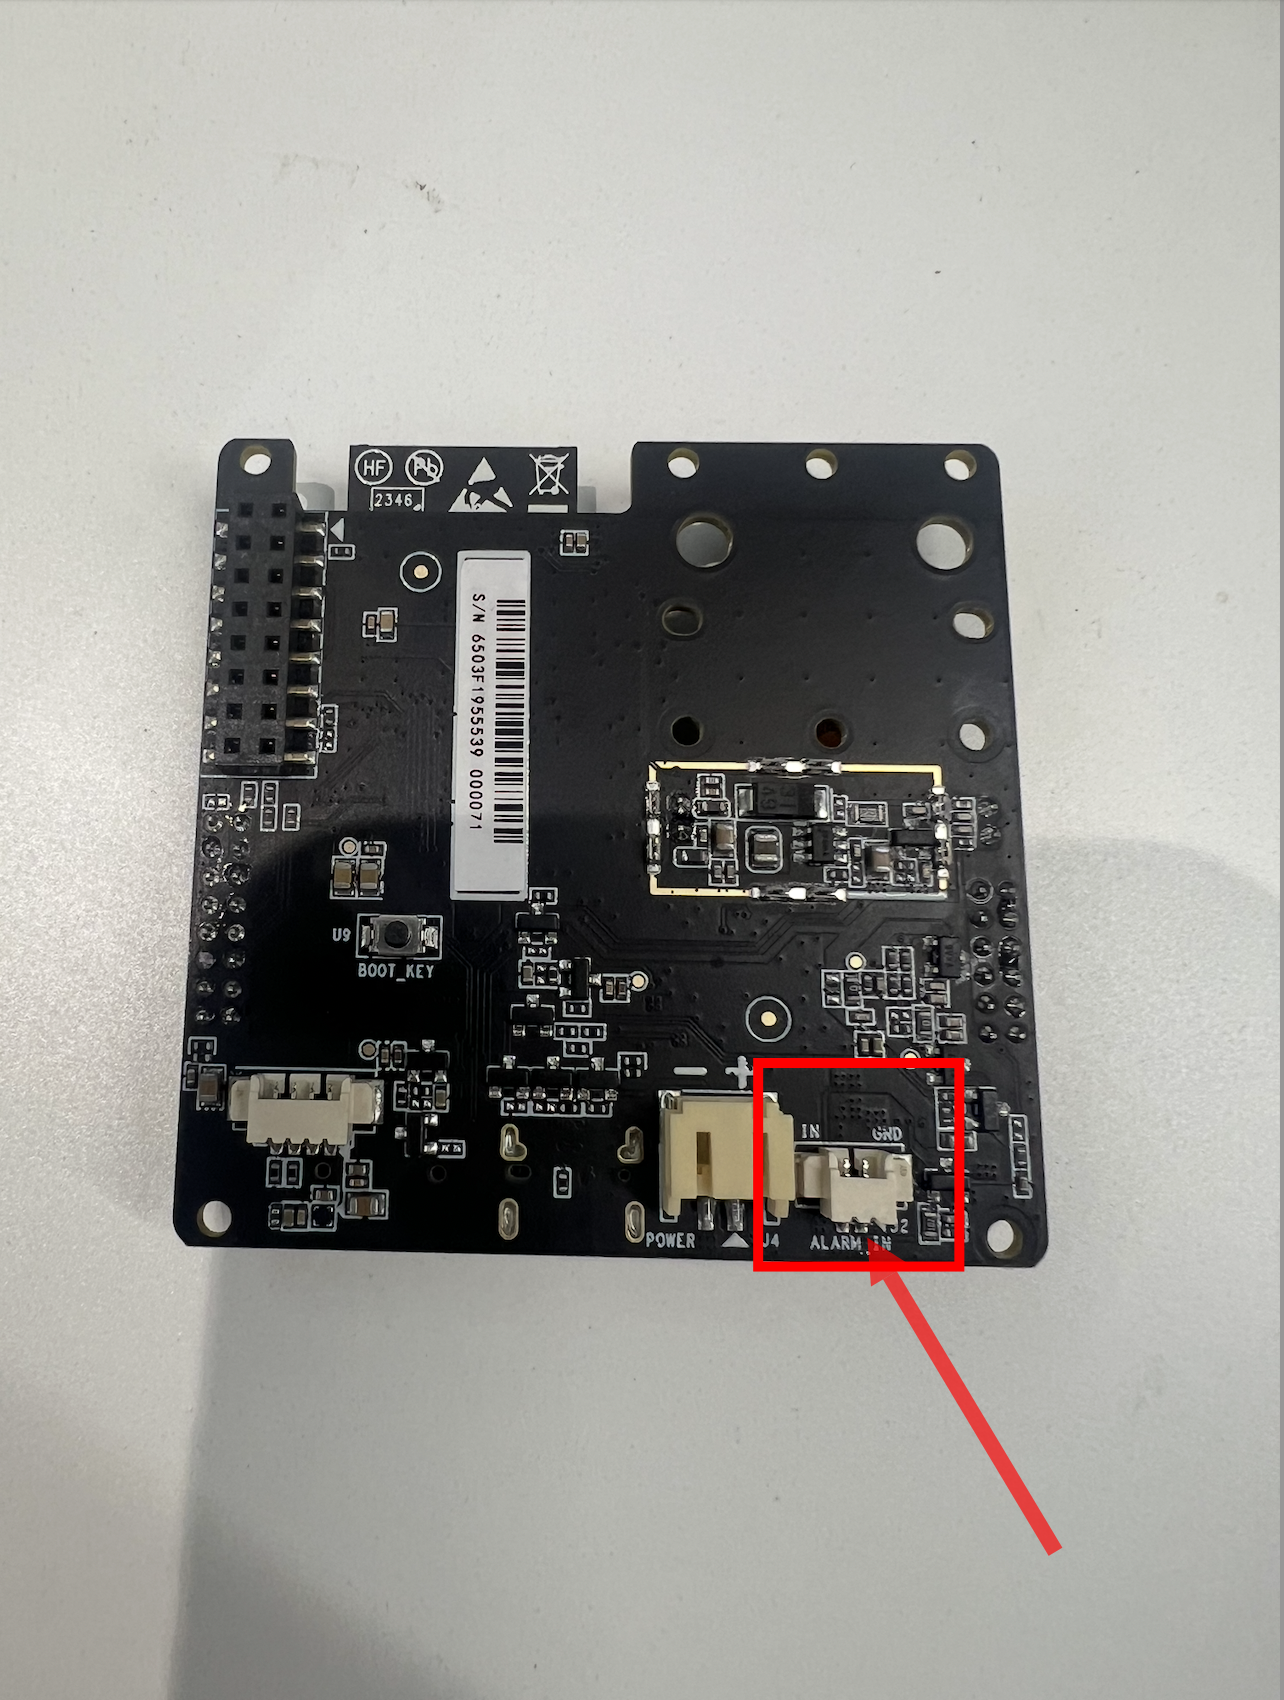
- Alarm-In Trigger: Uses hardware signals via the rear Alarm-In port.
- Button Capture: Enabled by default. Disabling this prevents manual capture via the side button.
Data Reporting (MQTT)
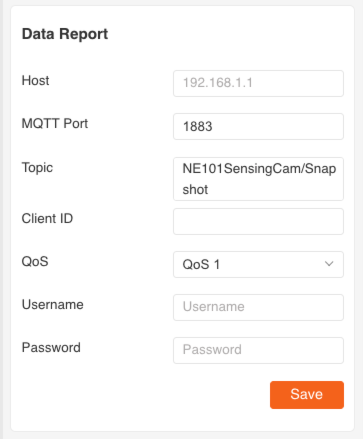
Configure MQTT parameters for data transmission:
- Host: Domain/IP of MQTT broker.
- Port: Default 1883.
- Topic: Data publication topic.
- Client ID: Unique MQTT client identifier.
- QoS: 0/1/2.
- Username/Password: Broker authentication.
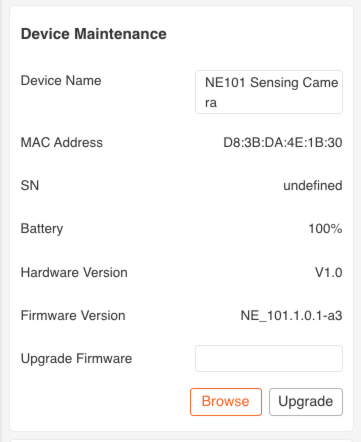
Device Management
View device info and update firmware:
- Device Name: Editable identifier included in MQTT data.
- MAC/SN: Hardware identifiers.
- Battery Level: Current charge.
- Firmware Version: Display and update via file upload.
Network Configuration
- WiFi: Scan and connect to available networks (stores latest credentials).
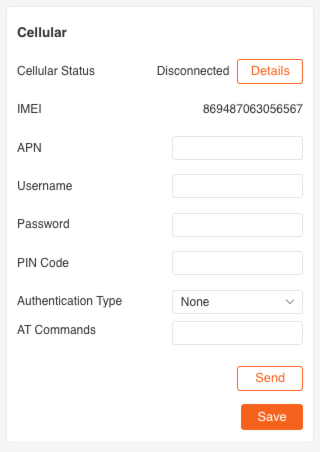
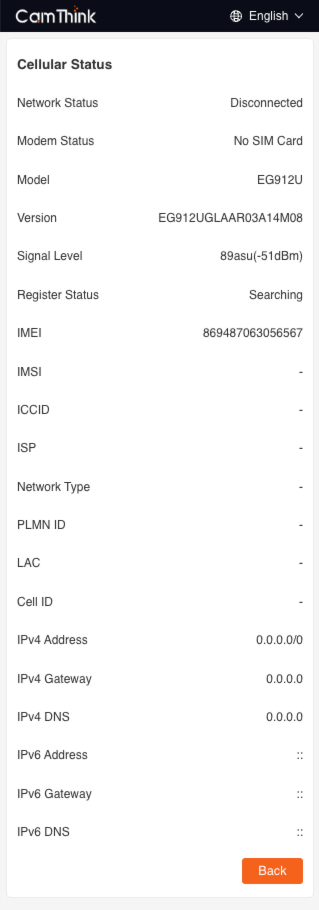
- Cat-1 (Cellular):
- Insert compatible SIM card (non-North American regions).
- Configure APN, credentials, and PIN in the Cellular section.
- Test connectivity and save settings.
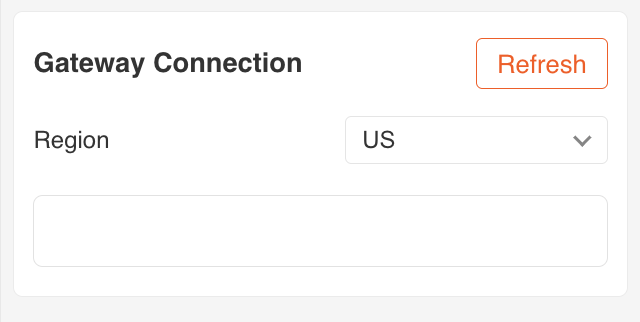
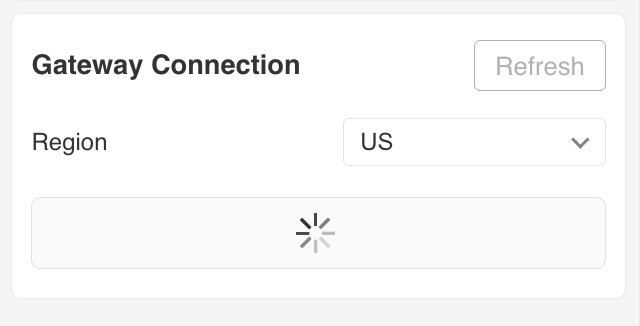
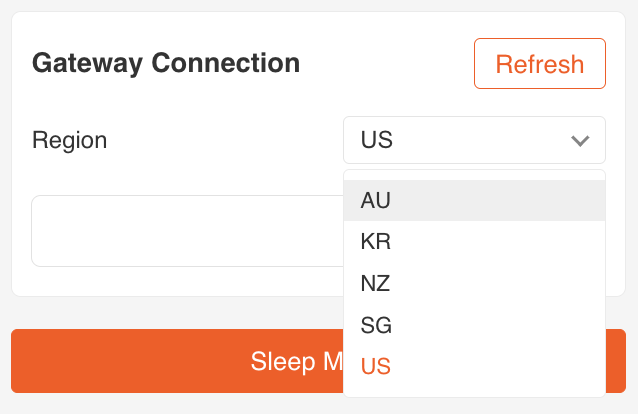
- WiFi Halow: Select region frequency and connect to Halow gateways.
Device Testing
Verify functionality by capturing images and checking MQTT data reception using tools like MQTTX.
MQTTX Setup Example
- Create a new connection with:
- Host:
192.168.44.80 - Port:
1884 - Topic:
left
- Host:
- Subscribe to the topic and press the device's capture button.
- Validate received JSON payload containing image data in Base64 format:
{
  "ts": 1740640441620,
  "values": {
    "devName": "NE101 Sensing Camera",
    "devMac": "D8:3B:DA:4D:10:2C",
    "battery": 84,
    "snapType": "Button",
    "localtime": "2025-02-27 15:14:01",
    "imageSize": 74371,
    "image": "data:image/jpeg;base64,..."
  }
}
Field Descriptions
ts: Timestamp (milliseconds)devName: Device namedevMac: Device MAC addressbattery: Battery level (percentage)snapType: Image capture type (e.g.,Button,Scheduled,PIR, etc.)localtime: Local time (string format)imageSize: Image size (in bytes)image: Base64 encoded JPEG image data, prefixed withdata:image/jpeg;base64,
Visualization Suggestions
You can quickly preview images in a web page or tool using the Base64 image data:
<img src="data:image/jpeg;base64,...">
You can also paste the Base64 data into aBase64 IMAGE View for online preview.
Product Installation
The NE101 offers various installation options, and you can choose from the wide range of brackets provided by CamThink. Below, we'll explain how to simply use and install the main optional brackets.
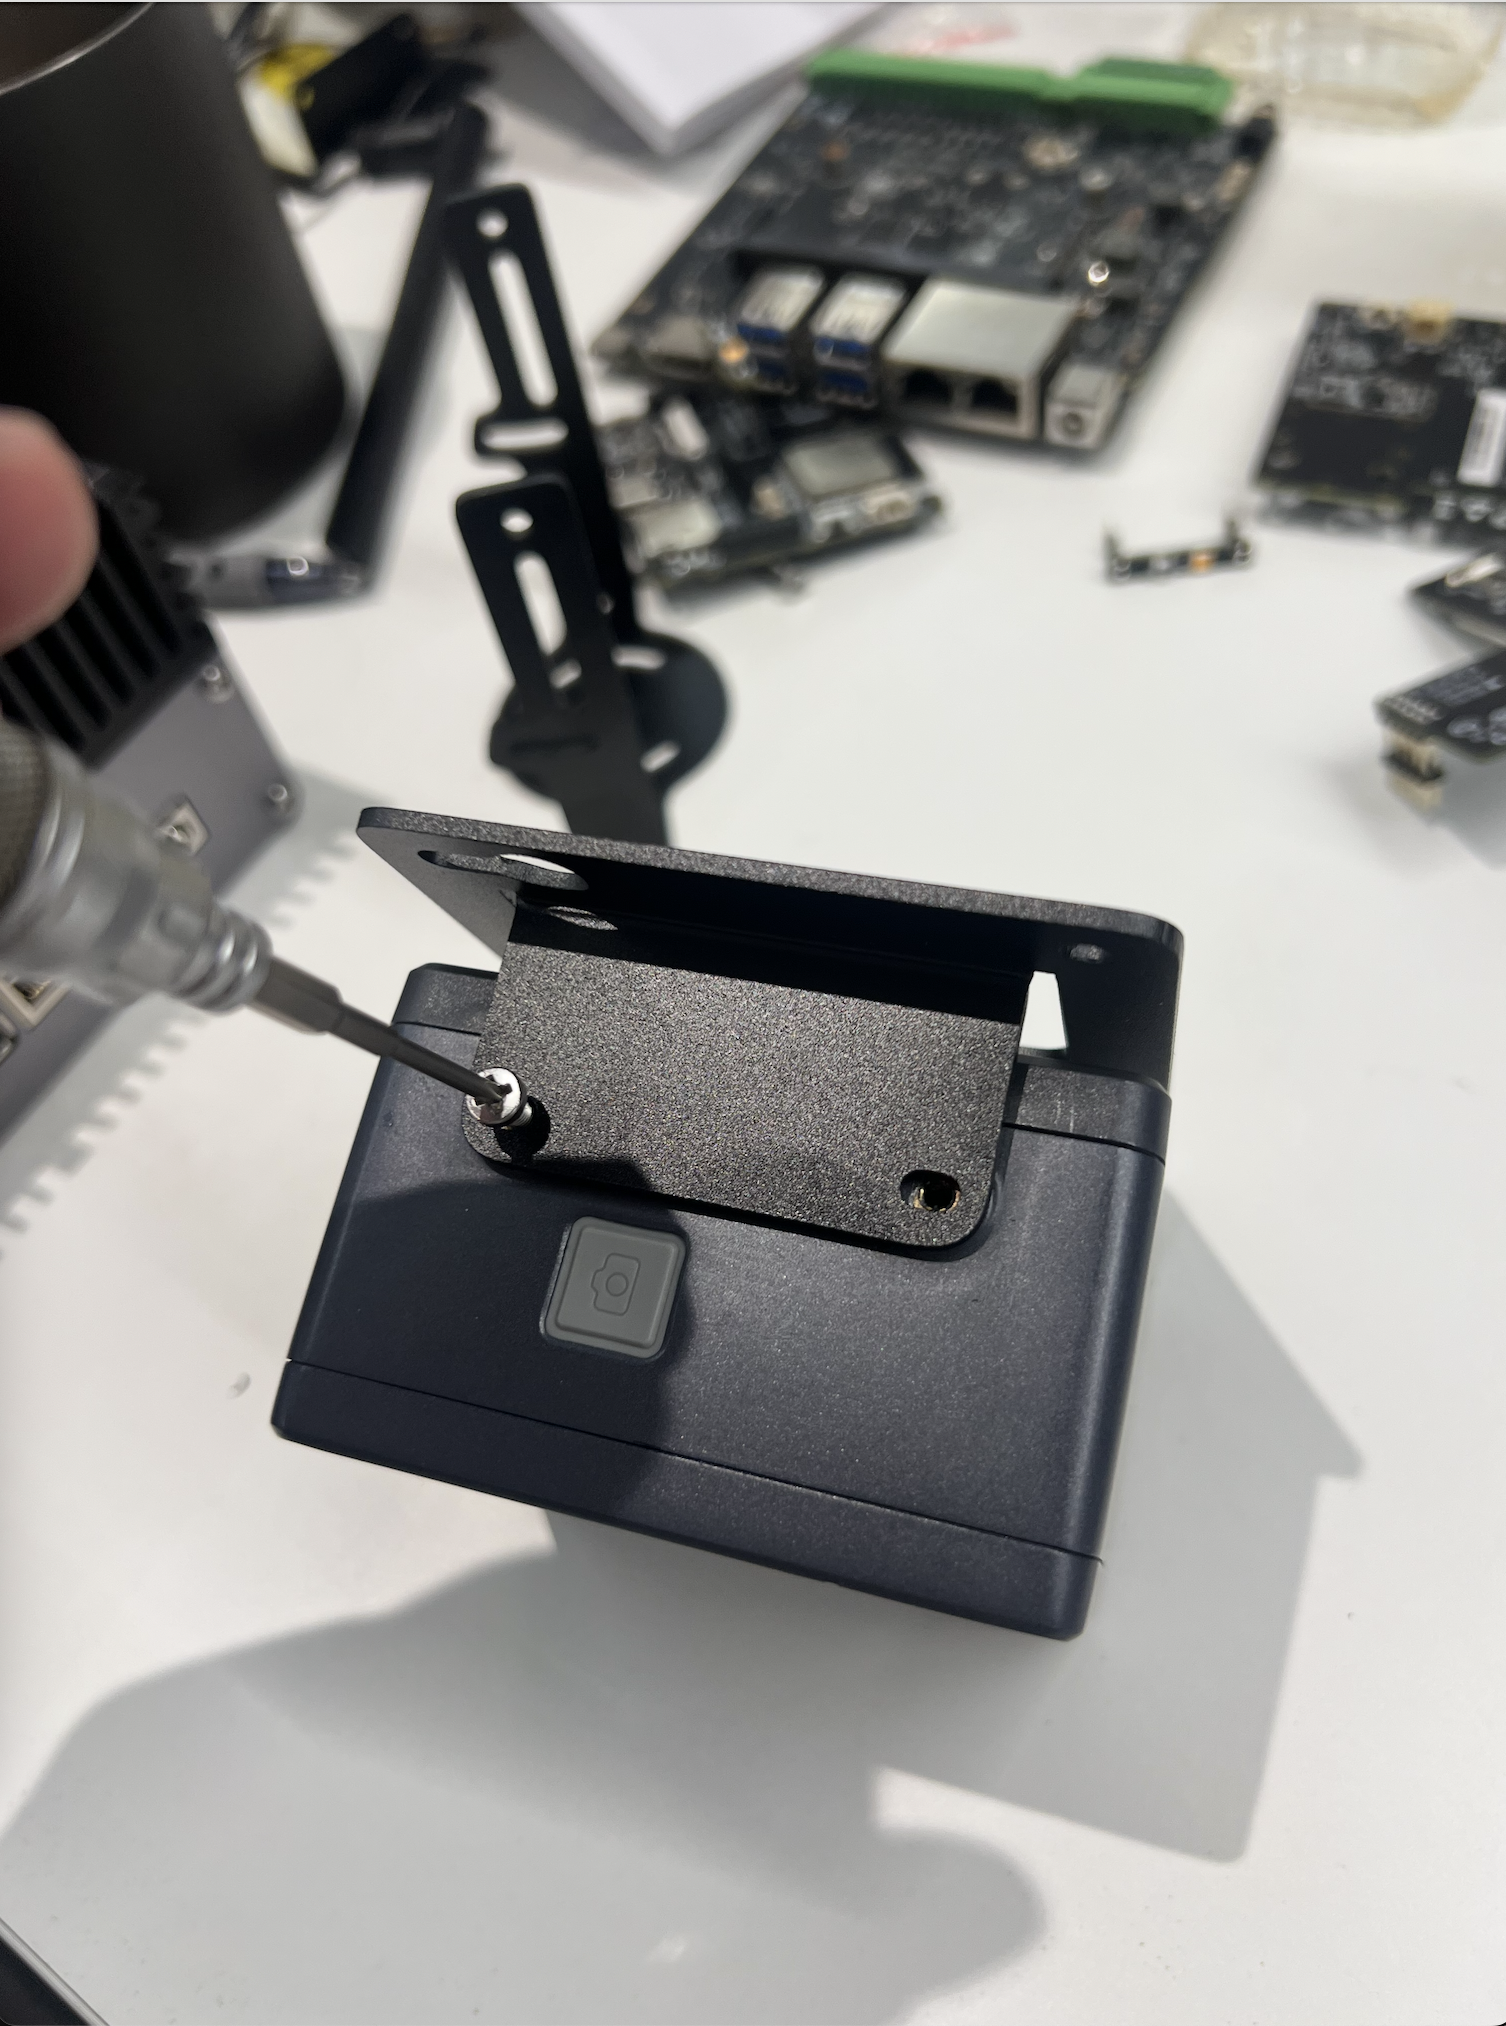
Bottom Bracket Extension
Locate the screw hole on the side of the NE101. Align the bracket with the device, then use screws to secure it. Once fixed, you can rotate the bracket to adjust the angle. Secure the bottom of the bracket to the desired mounting location by drilling screw holes.
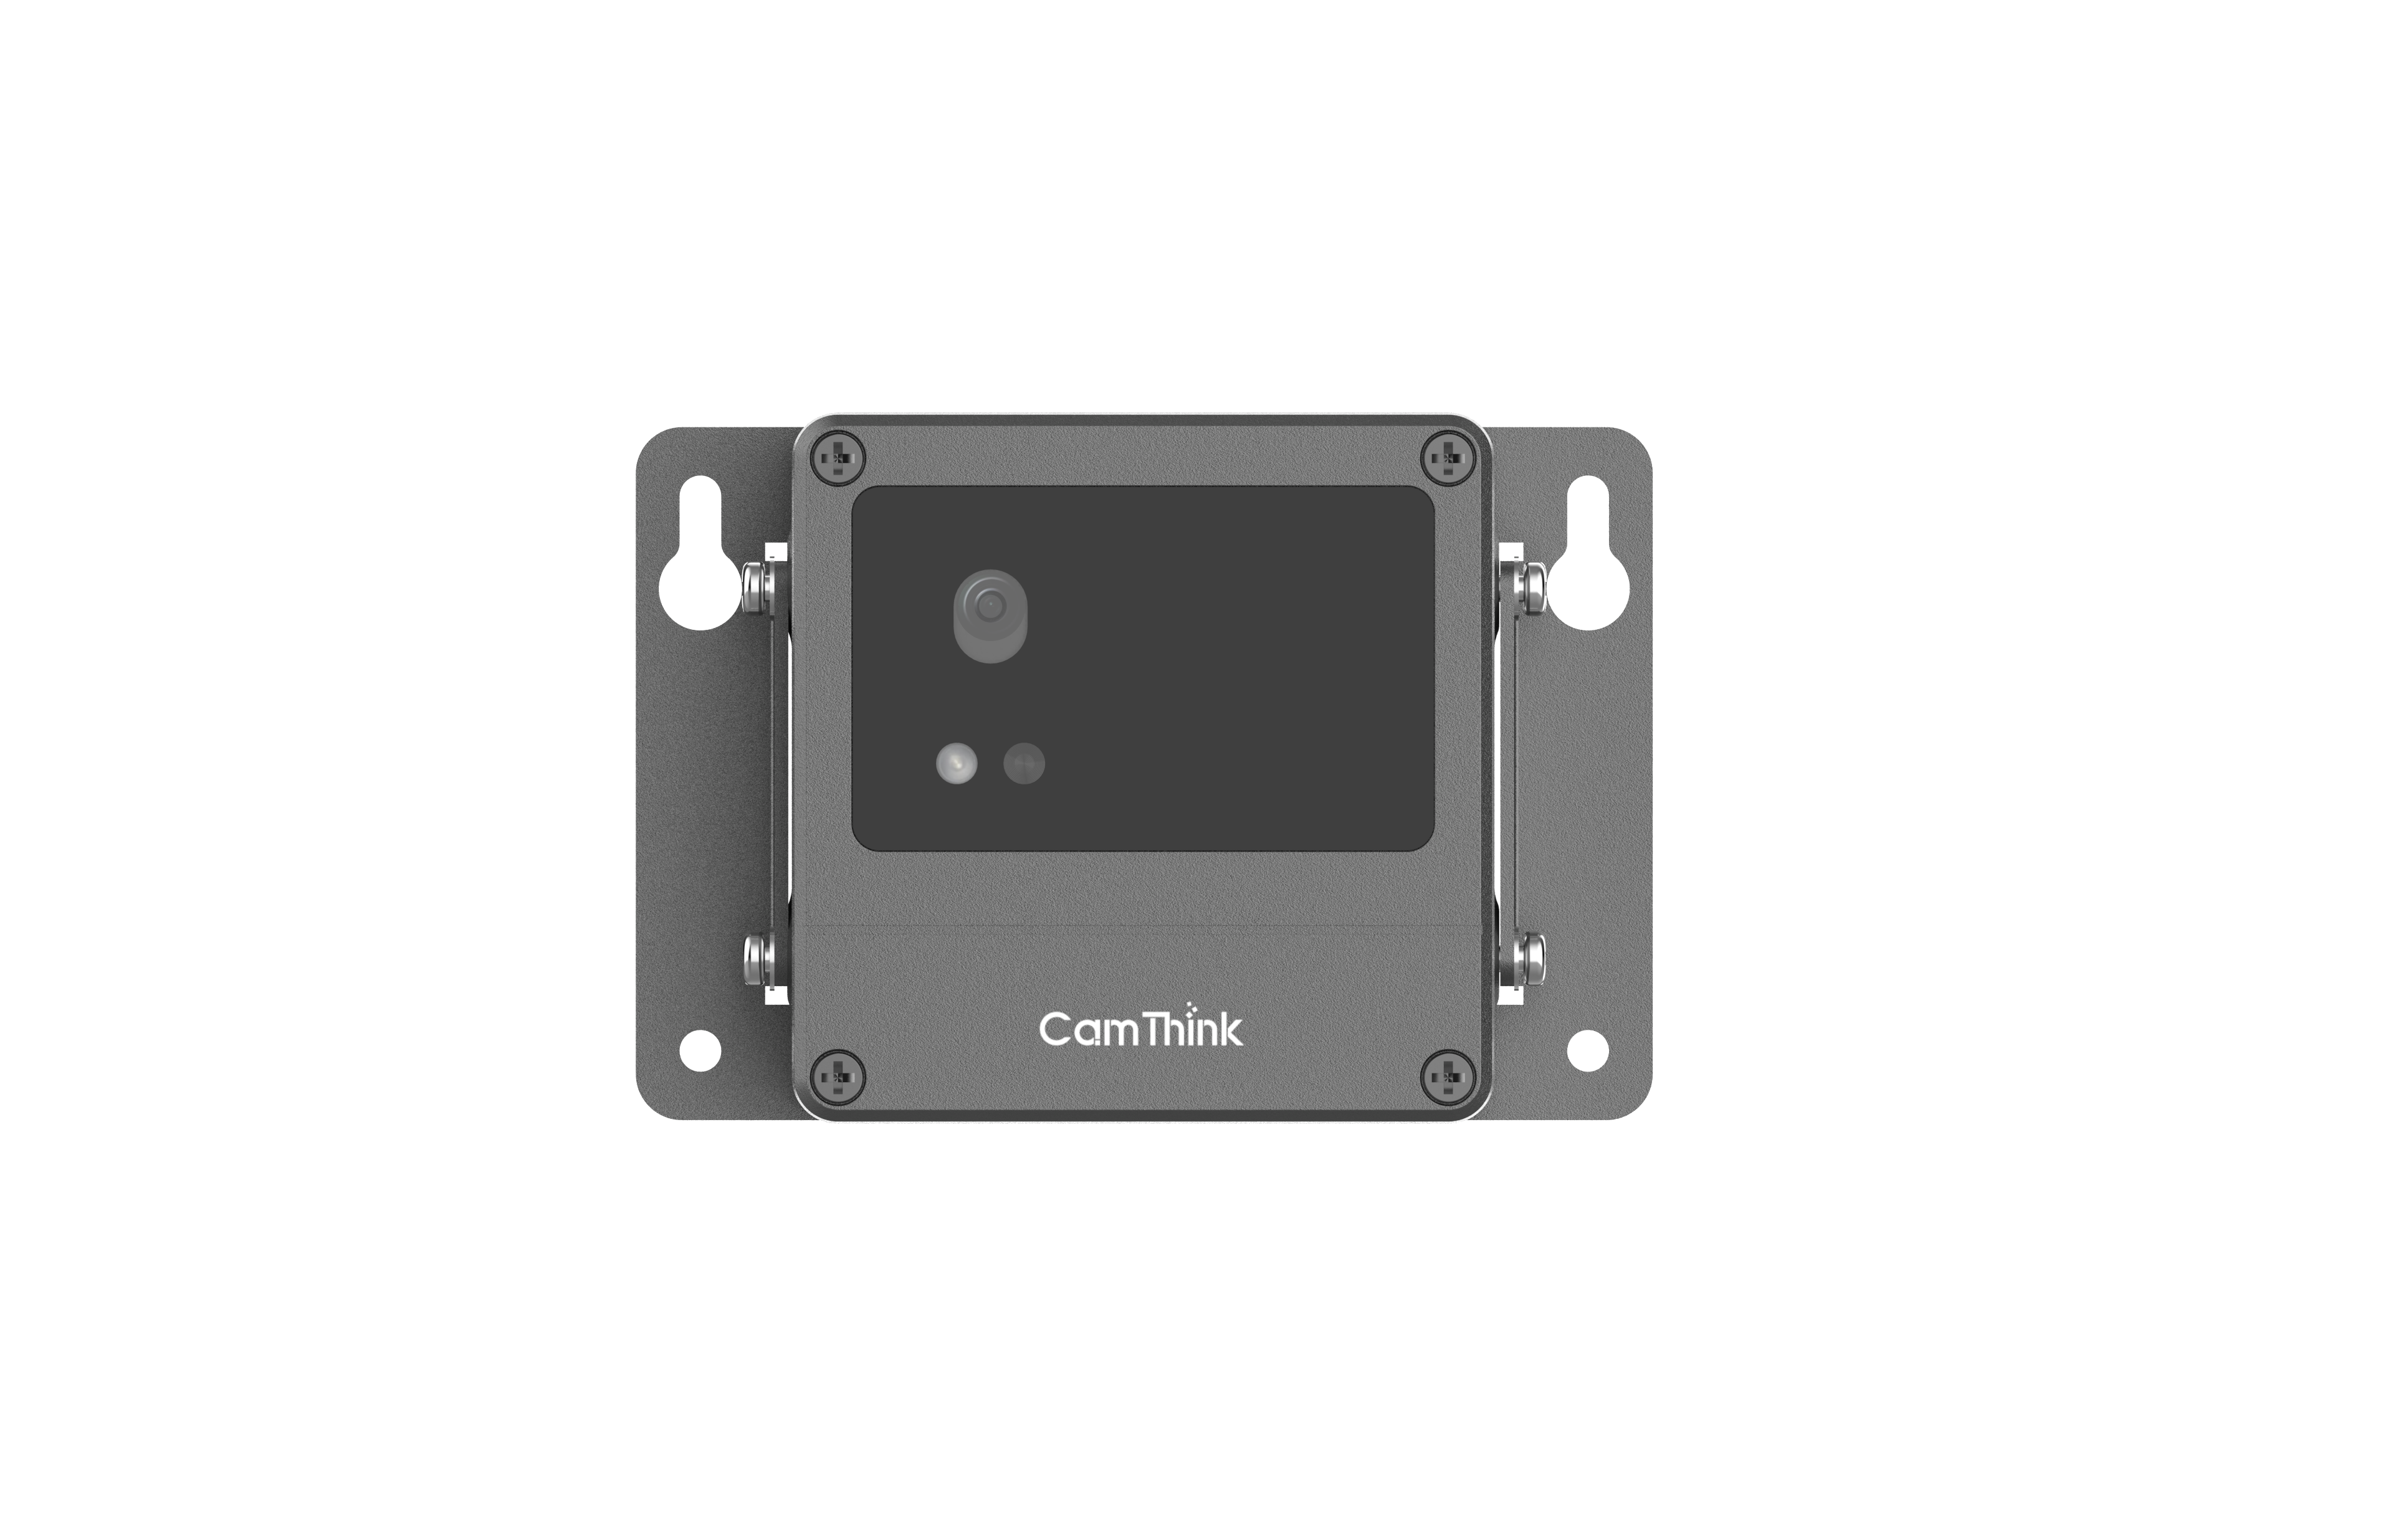
Back Bracket Extension
Locate the screw hole on the side of the NE101. Align the bracket with the device, then use screws to secure it. Find the desired wall-mounting location and secure the bracket by screwing into the screw holes on both sides.